
This is part one in a series about Openshift Virtualization with Portworx. The series will cover installation and usage, backup and restore, and data protection for virtual machines on Openshift. You can read the Part 2 here.
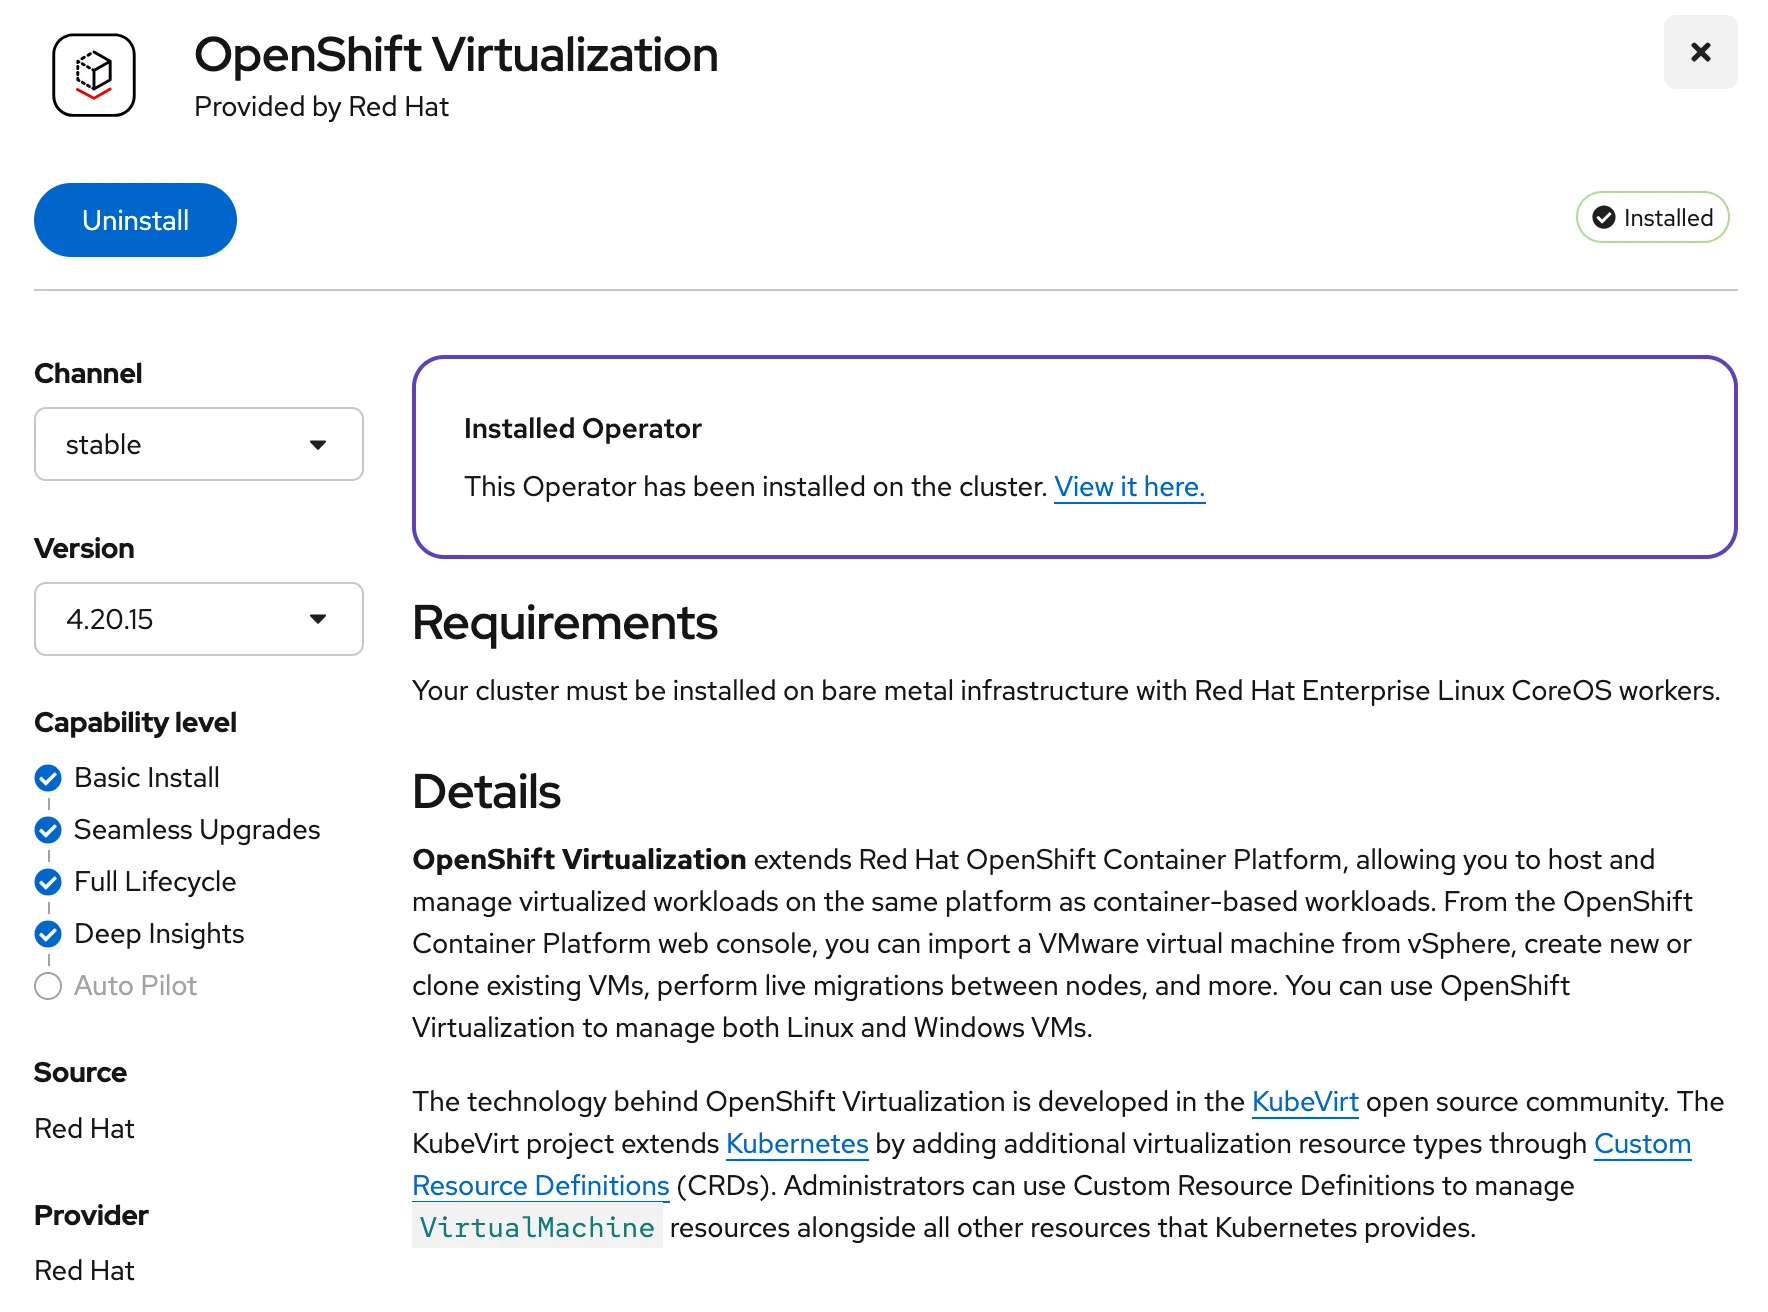
As organizations modernize their application platforms, containers are becoming the preferred deployment model. However, many enterprises still rely on a significant number of virtual machine (VM)-based applications that continue to support critical business services. OpenShift Virtualization, powered by KubeVirt, enables organizations to run VM-based and containerized workloads side by side on a single platform, providing a unified operational experience for developers and administrators.
Portworx complements this approach by delivering a common data management and protection layer for both containers and VMs. With capabilities such as persistent storage, high availability, backup and recovery, and disaster recovery, Portworx helps simplify operations while ensuring consistent data services across all workloads. In this blog, we’ll explore how Portworx enables seamless VM operations on OpenShift Virtualization, including features such as Live Migration using the px-rwx-block-kubevirt StorageClass.
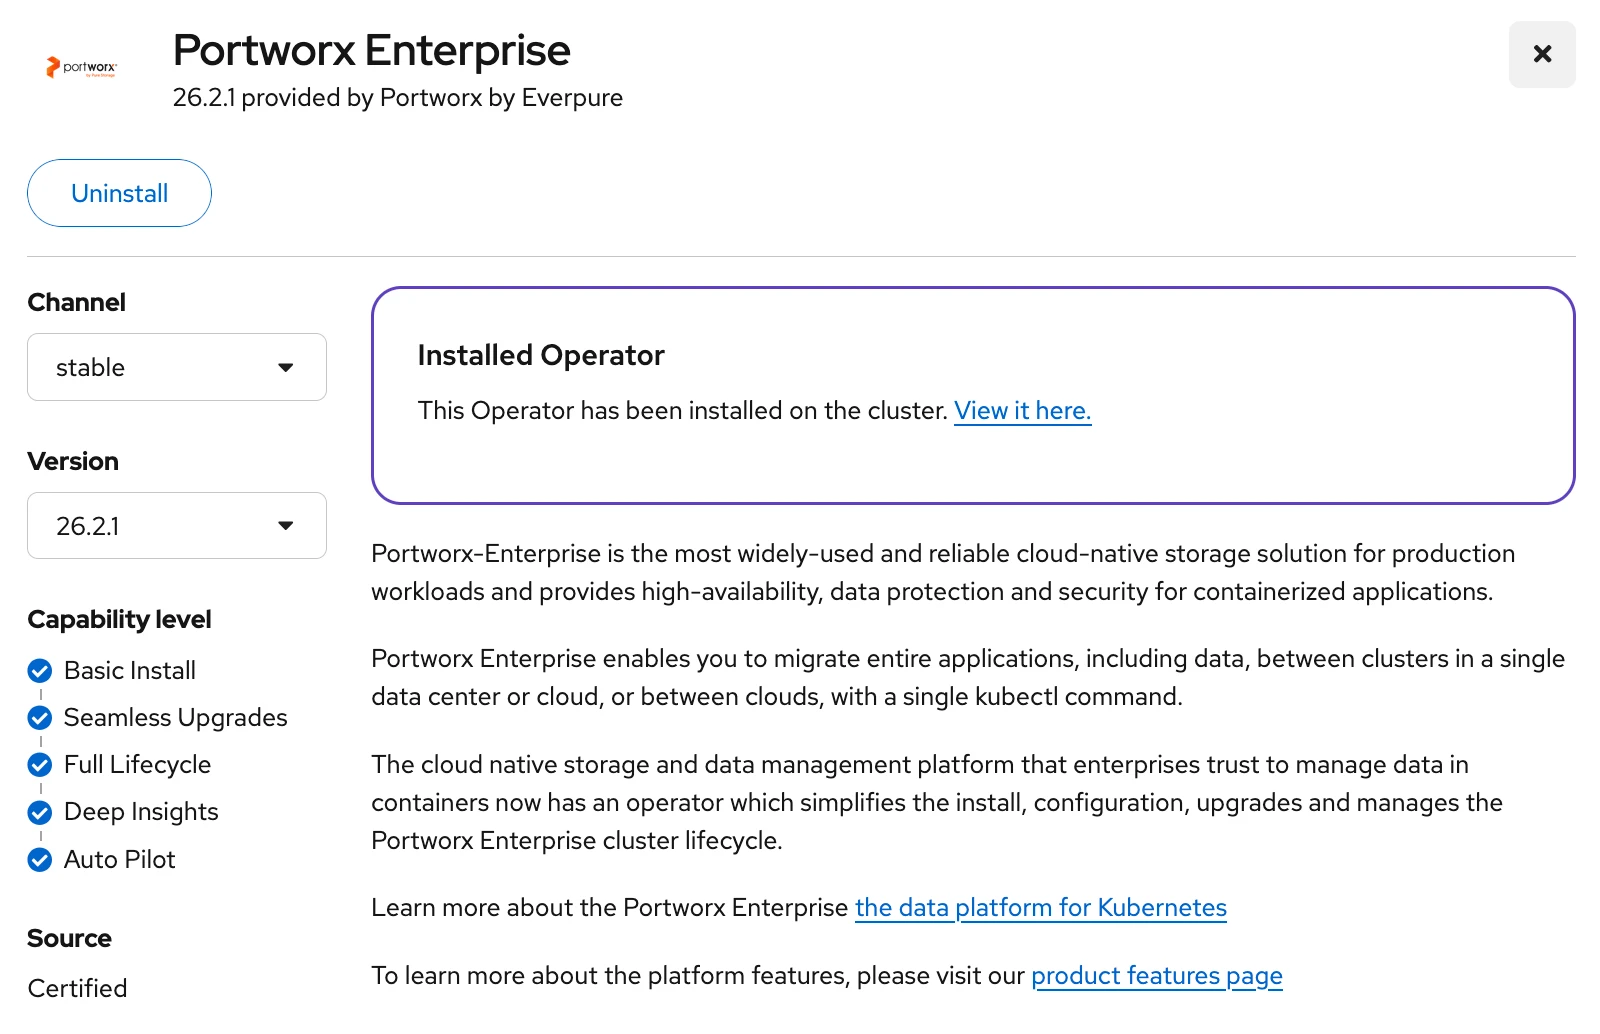
NOTE : Once the Portworx Operator is installed, follow the following instruction to install the Portworx StorageCluster.
Portworx deploys several pre-configured StorageClasses after the cluster is created. Portworx recommends using the CSI provisioner (pxd.portworx.com) for persistent volume operations and OpenShift Virtualization integrations.
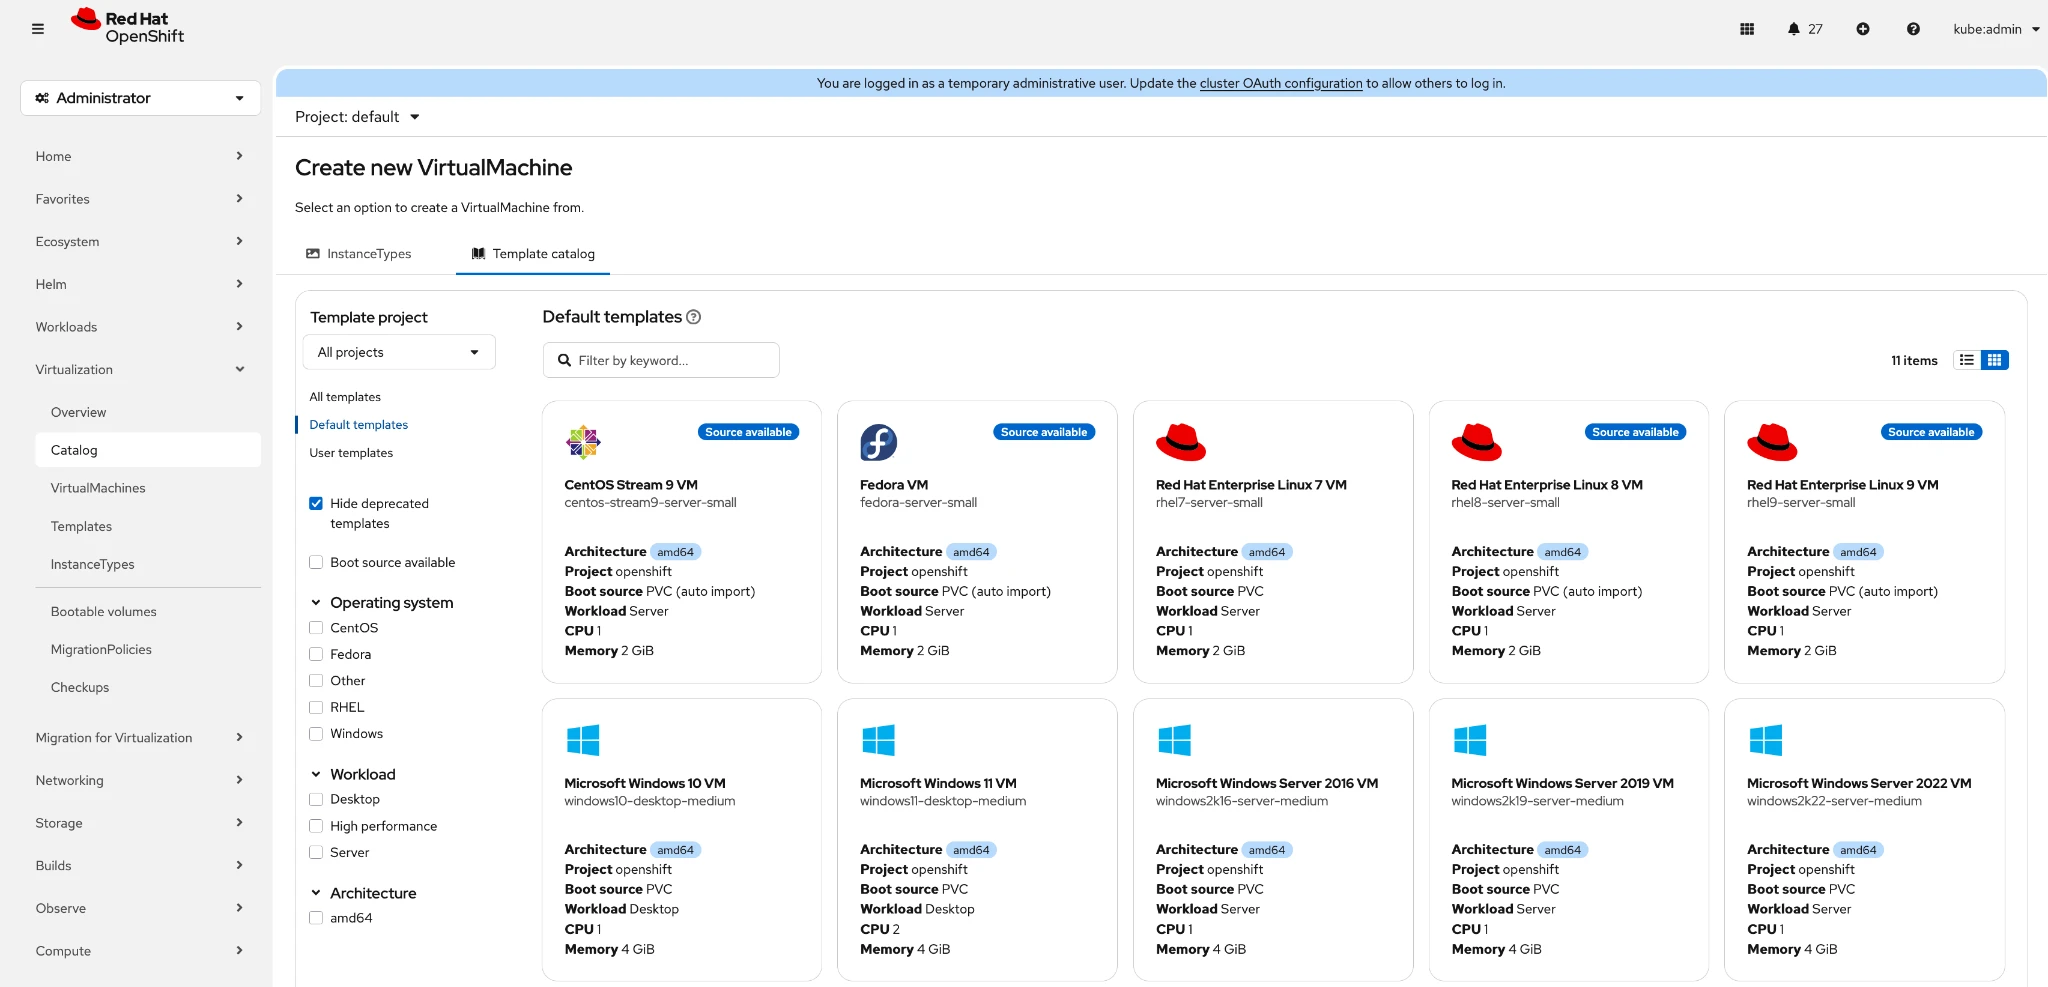
OpenShift Virtualization simplifies VM provisioning through a rich catalog of pre-configured templates. Instead of manually creating virtual machine definitions, administrators can quickly deploy a VM using the web console by selecting a template, specifying compute and storage requirements, and customizing optional settings such as networking and cloud-init.
Note: the catalog items with “source available” means the boot disk image has been downloaded to the cluster and is ready to be used.
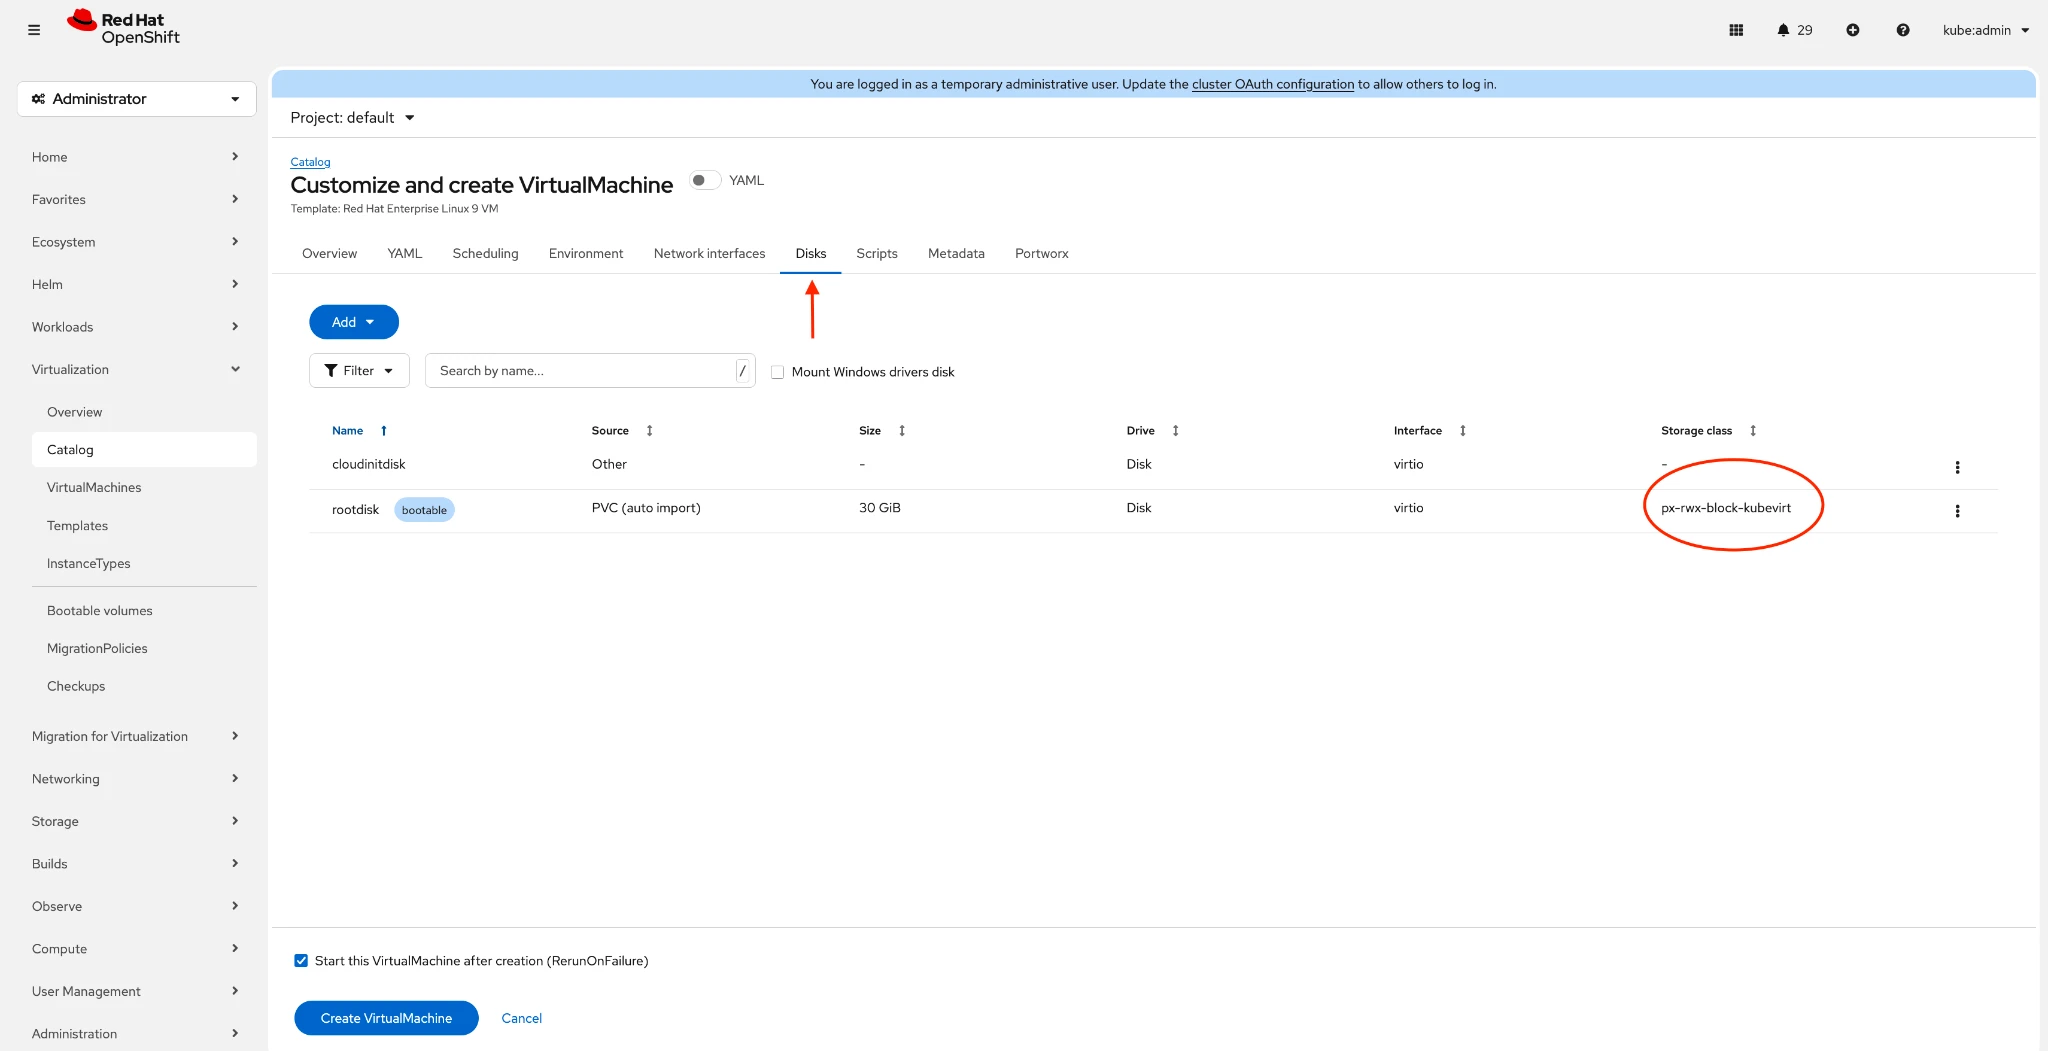
Select the Red Hat Enterprise Linux 9 template and click Customize. Update the boot disk settings to use the px-rwx-block-kubevirt StorageClass before creating the VM.
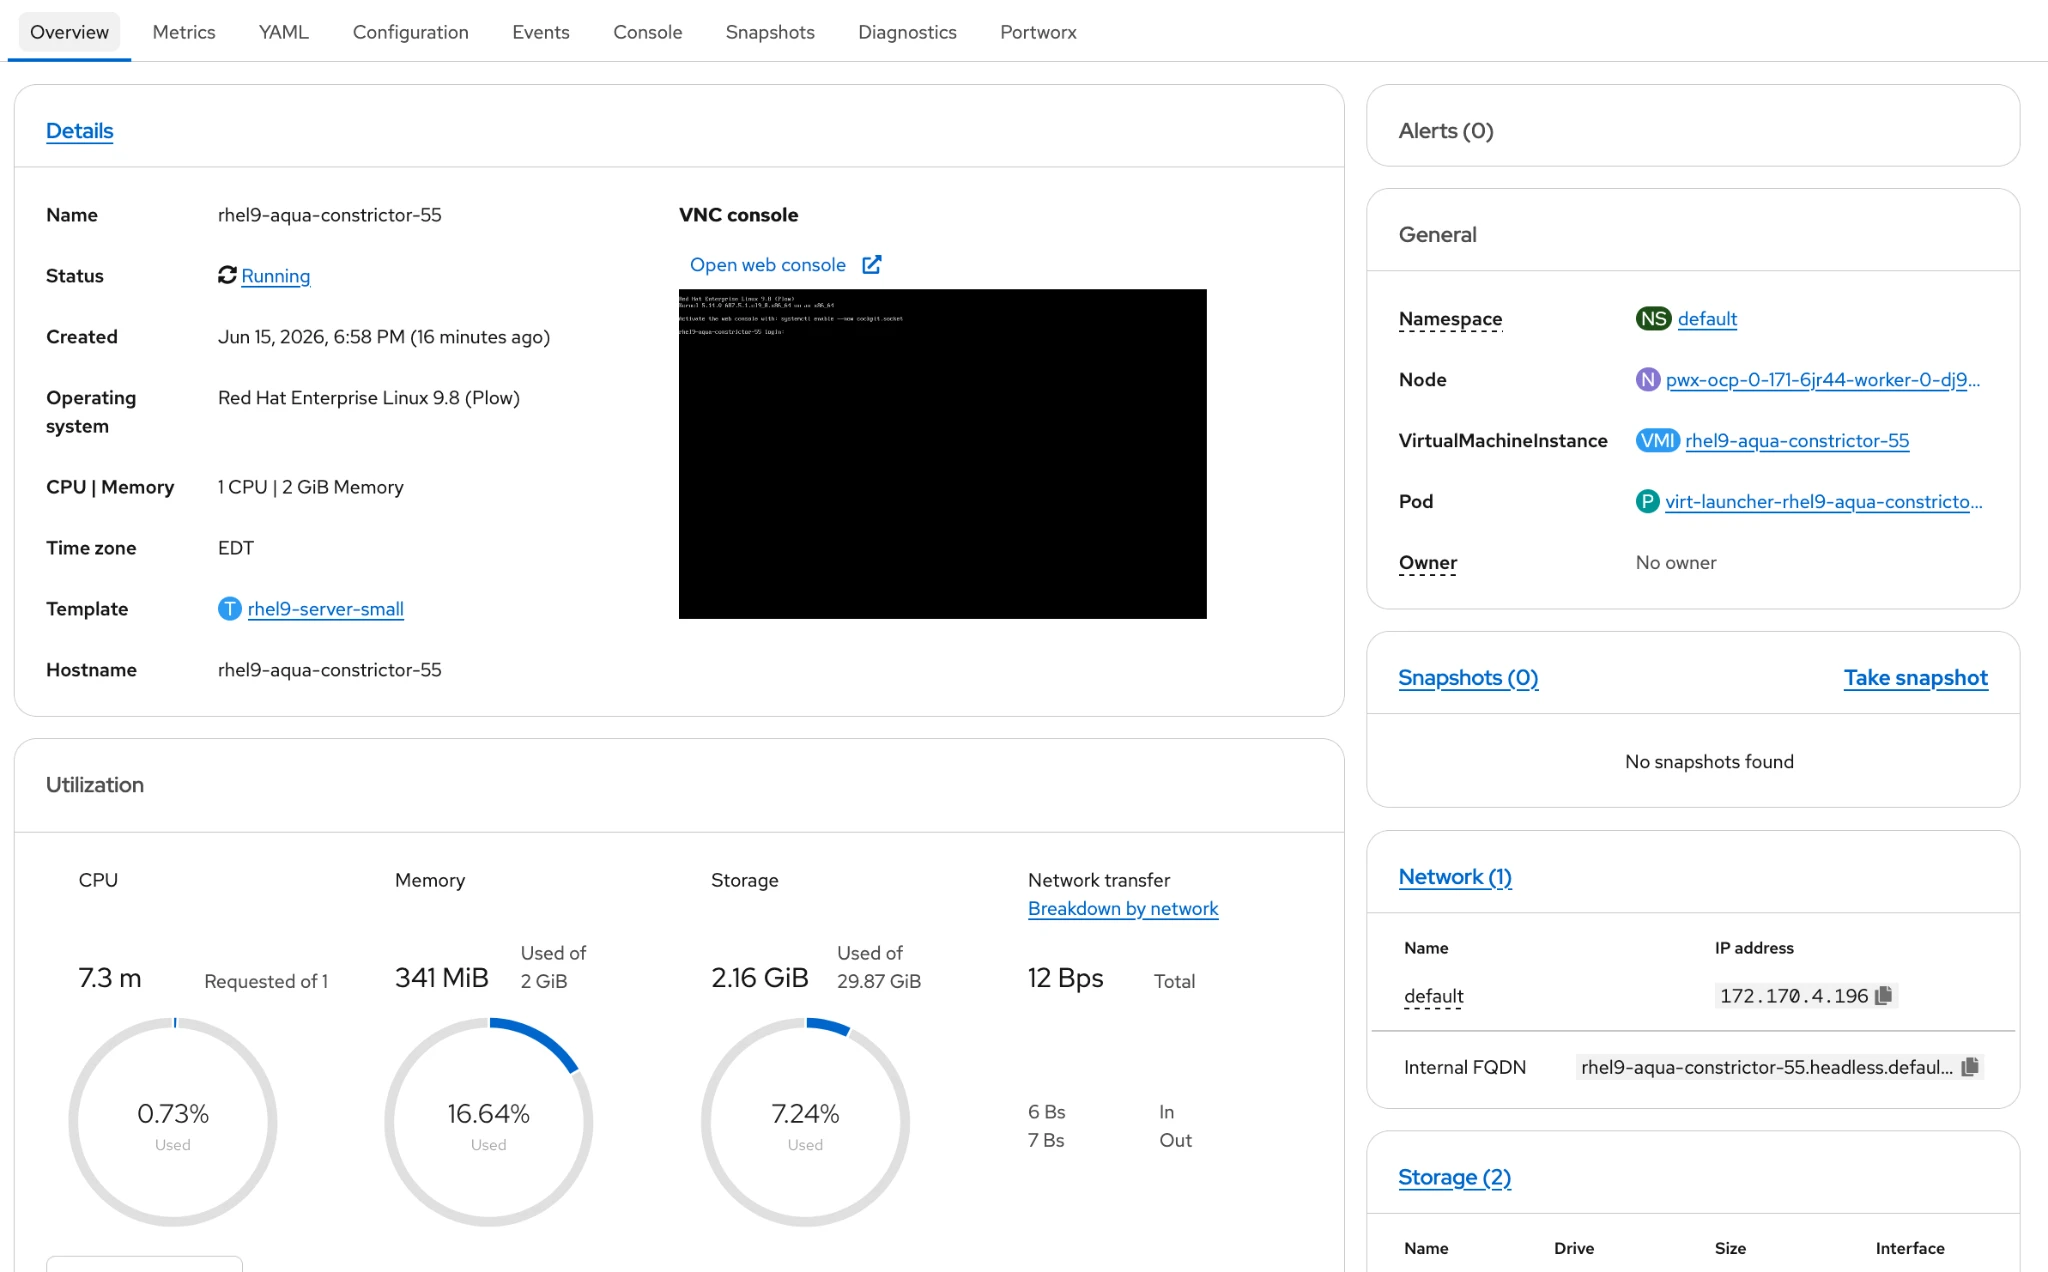
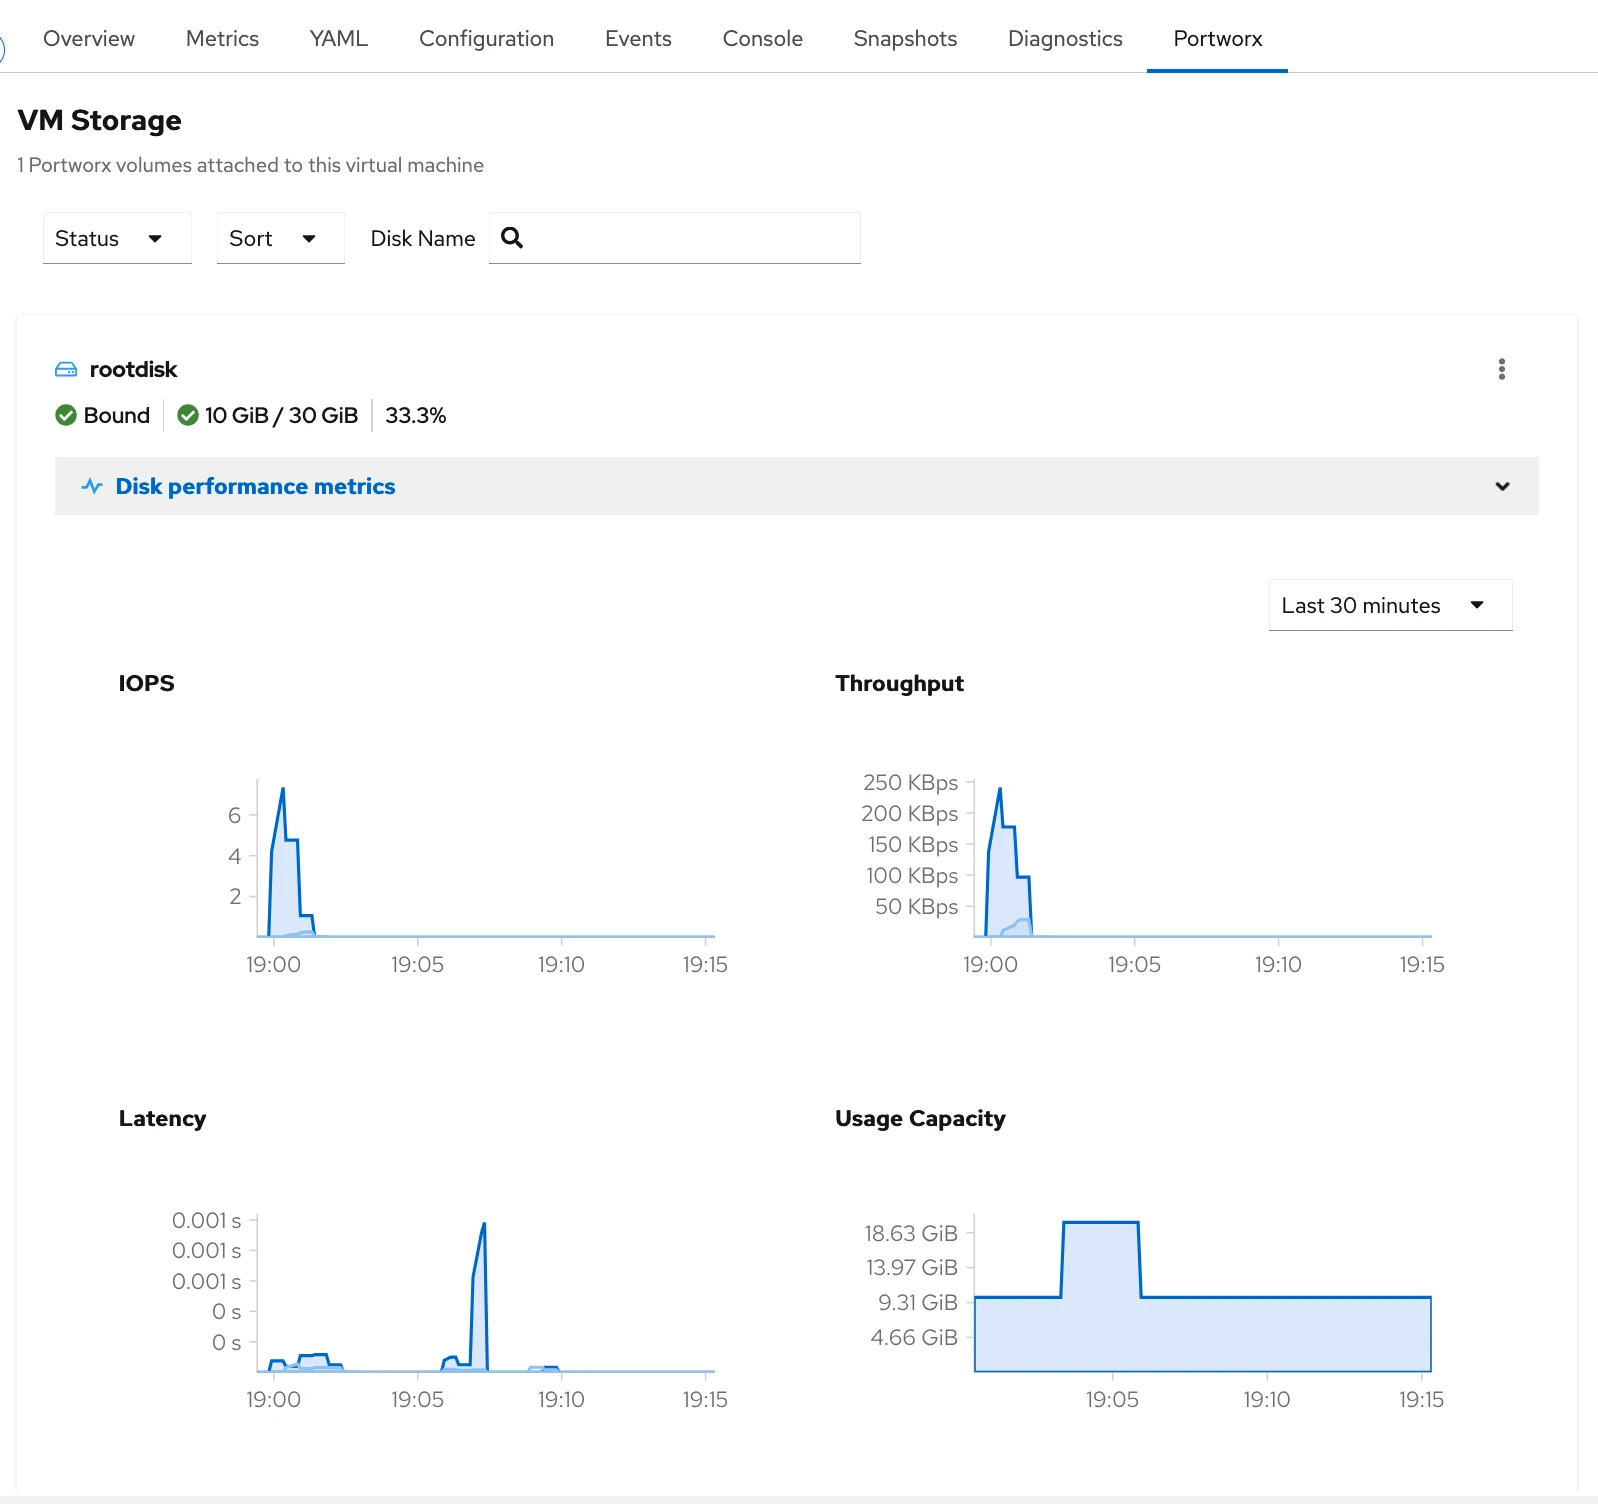
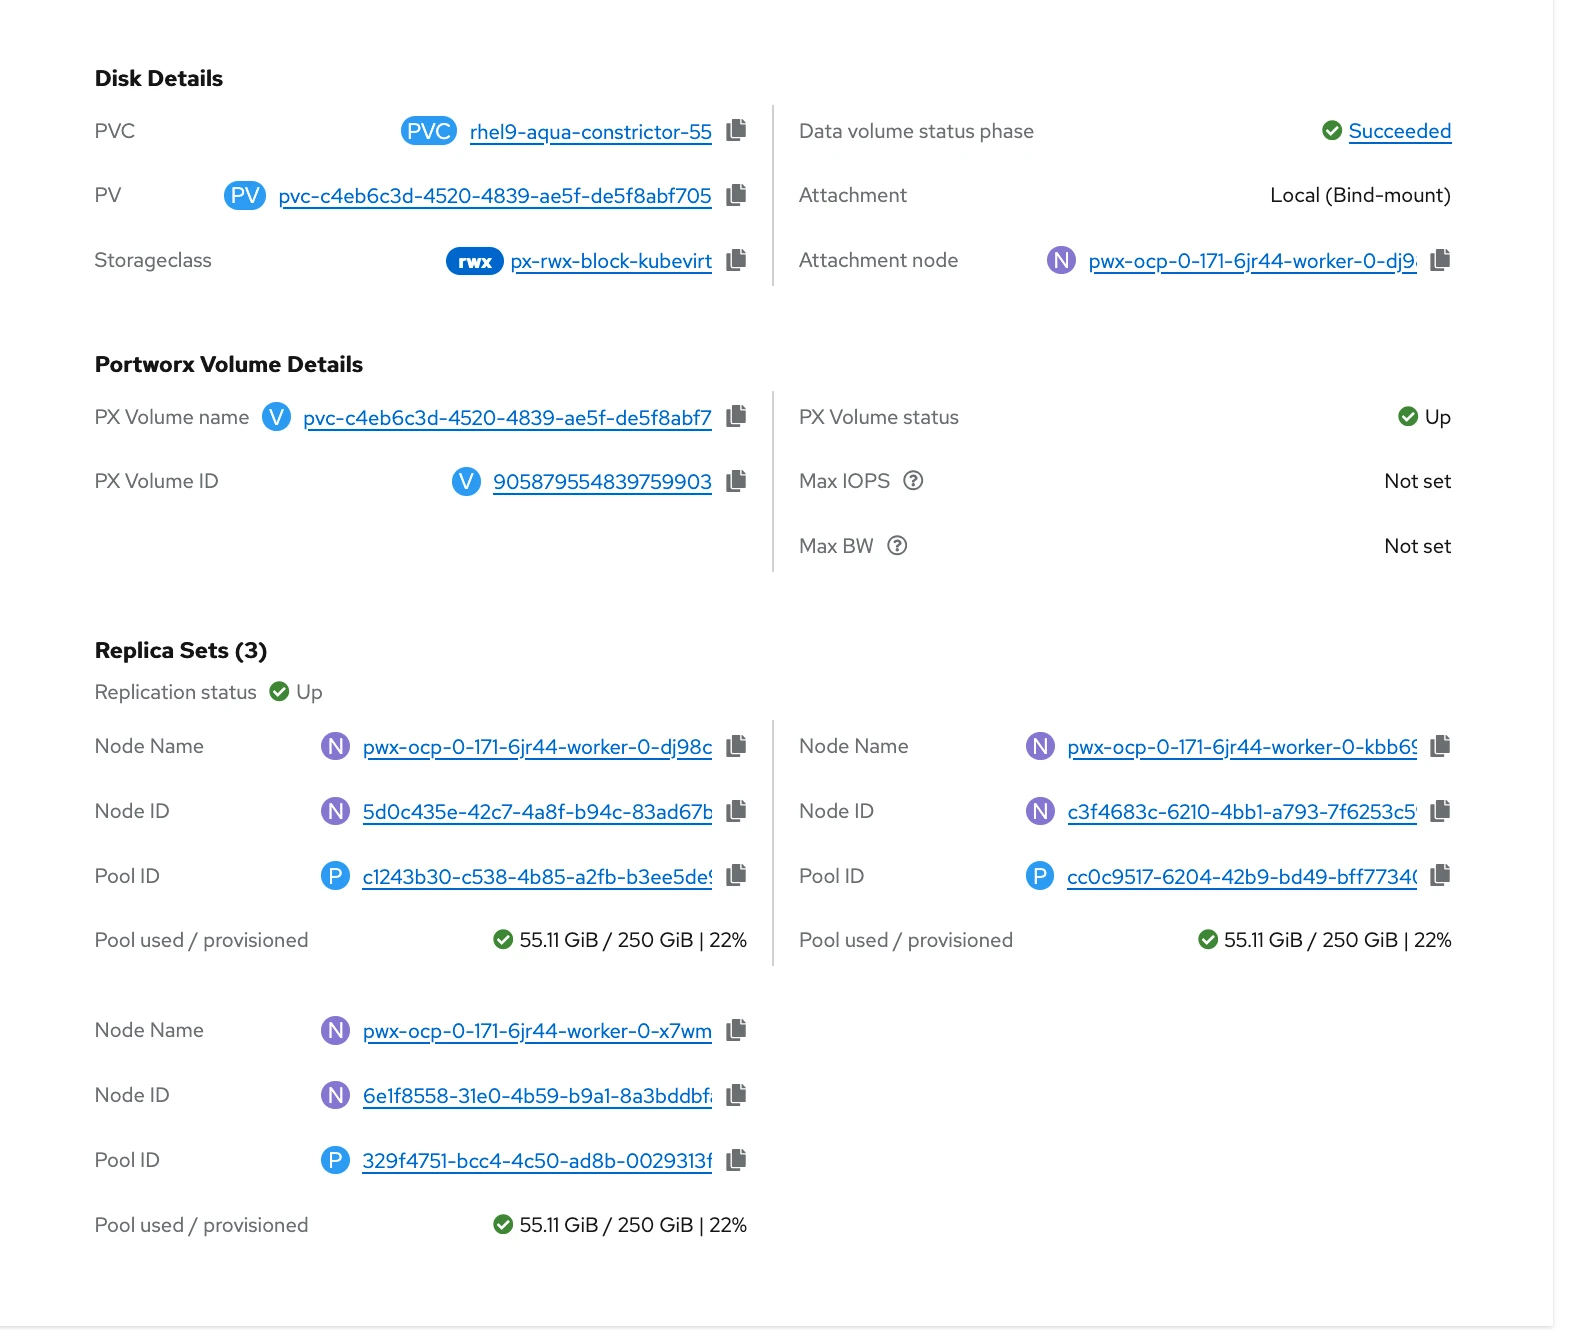
Once the VM has been created, the Overview page provides key details such as CPU, memory, and storage allocation. In addition, the Portworx tab offers valuable insights into the underlying storage, including the associated Portworx volume, replication settings, storage consumption, and real-time disk performance metrics. This unified view simplifies monitoring and management of VM storage directly from the OpenShift console.
Portworx and OpenShift Virtualization provide a powerful platform for running virtual machines and containers side by side on OpenShift. By leveraging Portworx StorageClasses such as px-rwx-block-kubevirt, organizations can simplify VM storage management while benefiting from enterprise features such as high availability, live migration, and data protection. Together, they deliver a unified and resilient infrastructure that helps accelerate application modernization without requiring immediate VM-to-container migration.