


Machine learning (ML) has grown in popularity over the past five years, becoming a crucial part of almost every industry you could think of, including healthcare, finance, entertainment, retail, and manufacturing. Machine learning is a branch of artificial intelligence that focuses on building applications that can automatically and periodically learn and improve from experience without being explicitly programmed to make specific adjustments. Machine learning models are built and deployed by following a simple three-step process: data preparation, model training, and deployment and inference. Although it sounds like a simple process, it requires different personas inside an organization to build ML models that are accurate and serve the business goals.
Kubeflow has become one of the quintessential tools for organizations that want to build ML models and use Kubernetes as the underlying infrastructure. The Kubeflow project is dedicated to making deployments of ML workflows on Kubernetes simple, portable, and scalable. Kubeflow doesn’t recreate services but provides a straightforward way to deploy best-of-breed open-source systems for ML to diverse infrastructures. Kubeflow deployment includes the following:
In this blog series, we will talk about how data scientists can build, train, and deploy their ML models using Kubeflow 1.3 on Amazon EKS with Portworx and how DevOps engineers or infrastructure operators can provide the underlying enterprise-grade storage services that facilitate use cases like:
Let’s start by creating an AWS EKS cluster using m5.large instances for storage and p3.2xlarge instances for running the data preparation and training phases for our ML model. We will also attach additional IAM policies needed to run Portworx on the EKS cluster once deployed. We will use the following cluster config and use eksctl to deploy our EKS cluster:
apiVersion: eksctl.io/v1alpha5
kind: ClusterConfig
metadata:
  name: demo-px-bshah-mixed
  region: us-east-1
  version: "1.20"
managedNodeGroups:
  - name: storage-nodes
    instanceType: m5.xlarge
    minSize: 3
    maxSize: 3
    volumeSize: 100
    #ami: auto
    amiFamily: AmazonLinux2
    labels: {role: worker, "portworx.io/node-type": "storage"}
    tags:
      nodegroup-role: worker
    iam:
      attachPolicyARNs:
        - arn:aws:iam::aws:policy/AmazonEKSWorkerNodePolicy
        - arn:aws:iam::aws:policy/AmazonEKS_CNI_Policy
        - arn:aws:iam::aws:policy/AmazonEC2ContainerRegistryReadOnly
        - arn:aws:iam::aws:policy/ElasticLoadBalancingFullAccess
        - <arn-of-your-portworx-aws-iam-policy>
      withAddonPolicies:
        imageBuilder: true
        autoScaler: true
        ebs: true
        fsx: true
        efs: true
        albIngress: true
        cloudWatch: true
  - name: storageless-nodes
    instanceType: p3.2xlarge
    minSize: 3
    maxSize: 6
    desiredCapacity: 3
    volumeSize: 50
    amiFamily: AmazonLinux2
    labels: {role: worker}
    tags:
      nodegroup-role: worker-storageless
    iam:
      attachPolicyARNs:
        - arn:aws:iam::aws:policy/AmazonEKSWorkerNodePolicy
        - arn:aws:iam::aws:policy/AmazonEKS_CNI_Policy
        - arn:aws:iam::aws:policy/AmazonEC2ContainerRegistryReadOnly
        - arn:aws:iam::aws:policy/ElasticLoadBalancingFullAccess
        - <arn-of-your-portworx-aws-iam-policy>
      withAddonPolicies:
        imageBuilder: true
        autoScaler: true
        ebs: true
        fsx: true
        efs: true
        albIngress: true
        cloudWatch: true
availabilityZones: [ 'us-east-1a', 'us-east-1b', 'us-east-1d' ]

eksctl create cluster -f demo-px-bshah-gpu.yaml
/opt/pwx/bin/pxctl credentials create --provider s3 --s3-access-key <<access-key-id>> --s3-secret-key <<secret-access-key>> --s3-region us-east-1 --s3-endpoint s3.amazonaws.com kb-s3-px-creds

/opt/pwx/bin/pxctl credentials validate kb-s3-px-creds
#cat weeklyandinterval.yaml
apiVersion: stork.libopenstorage.org/v1alpha1
kind: SchedulePolicy
metadata:
  name: weekly-and-interval
policy:
  interval:
    intervalMinutes: 15
  weekly:
    day: "Friday"
    time: "10:00PM"

kubectl apply -f weeklyandinterval.yaml
schedulepolicy.stork.libopenstorage.org/weekly-and-interval configured

#cat daily.yaml
 apiVersion: stork.libopenstorage.org/v1alpha1
 kind: SchedulePolicy
 metadata:
   name: daily
 policy:
  interval:
    intervalMinutes: 30
  daily:
     time: "10:14PM"
     retain: 3

kubectl apply -f daily.yaml
schedulepolicy.stork.libopenstorage.org/daily configured

kubectl get schedulepolicy
NAME                       AGE
daily                      4m55s
default-daily-policy       48m
default-interval-policy    48m
default-migration-policy   48m
default-monthly-policy     48m
default-weekly-policy      48m
weekly-and-interval        4m31s

######################
cat standard-sc.yaml
kind: StorageClass
apiVersion: storage.k8s.io/v1
metadata:
  name: standard-sc
provisioner: kubernetes.io/portworx-volume
parameters:
  repl: "3"
  io_profile: "auto"
  snapshotschedule.stork.libopenstorage.org/default-schedule: |
    schedulePolicyName: daily
    annotations:
      portworx/snapshot-type: local
  snapshotschedule.stork.libopenstorage.org/weekly-schedule: |
    schedulePolicyName: weekly-and-interval
    annotations:
      portworx/snapshot-type: cloud
      portworx/cloud-cred-id: <<object-store-credentials-id>>

kubectl apply -f standard-sc.yaml
storageclass.storage.k8s.io/standard-sc created

######################

cat shared-sc.yaml
kind: StorageClass
apiVersion: storage.k8s.io/v1
metadata:
  name: shared-sc
provisioner: kubernetes.io/portworx-volume
parameters:
  repl: "2"
  allow_all_ips: "true"
  sharedv4: "true"
  snapshotschedule.stork.libopenstorage.org/default-schedule: |
    schedulePolicyName: daily
    annotations:
      portworx/snapshot-type: local
  snapshotschedule.stork.libopenstorage.org/weekly-schedule: |
    schedulePolicyName: weekly-and-interval
    annotations:
      portworx/snapshot-type: cloud
      portworx/cloud-cred-id: <<object-store-credentials-id>>

kubectl apply -f shared-sc.yaml
storageclass.storage.k8s.io/shared-sc created

######################
kubectl patch storageclass gp2 -p '{"metadata": {"annotations":{"storageclass.kubernetes.io/is-default-class":"false"}}}'
storageclass.storage.k8s.io/gp2 patched

kubectl patch storageclass standard-sc -p '{"metadata": {"annotations":{"storageclass.kubernetes.io/is-default-class":"true"}}}'
storageclass.storage.k8s.io/standard-sc patched

kubectl get sc
NAME                             PROVISIONER                     RECLAIMPOLICY   VOLUMEBINDINGMODE      ALLOWVOLUMEEXPANSION   AGE
shared-sc                     kubernetes.io/portworx-volume   Delete       Immediate           false                  47s
standard-sc (default)         kubernetes.io/portworx-volume   Delete       Immediate           false                  53s
git clone [https://github.com/kubeflow/manifests.git](https://github.com/kubeflow/manifests.git)

while ! kustomize build example | kubectl apply -f -; do echo "Retrying to apply resources"; sleep 10; done

kubectl port-forward svc/istio-ingressgateway -n istio-system 8080:80
NAME             STATUS   VOLUME                                     CAPACITY   ACCESS MODES   STORAGECLASS   AGE
katib-mysql      Bound    pvc-9d4b6c6e-404f-4ee3-81b0-4e001a0091d0   10Gi       RWO            standard-sc    12m
minio-pvc        Bound    pvc-d34e3cfa-d537-49ae-8453-5d86c94ea392   20Gi       RWO            standard-sc    12m
mysql-pv-claim   Bound    pvc-af91f6e3-ac4d-42d6-9b0c-5228d4a17f56   20Gi       RWO            standard-sc    12m
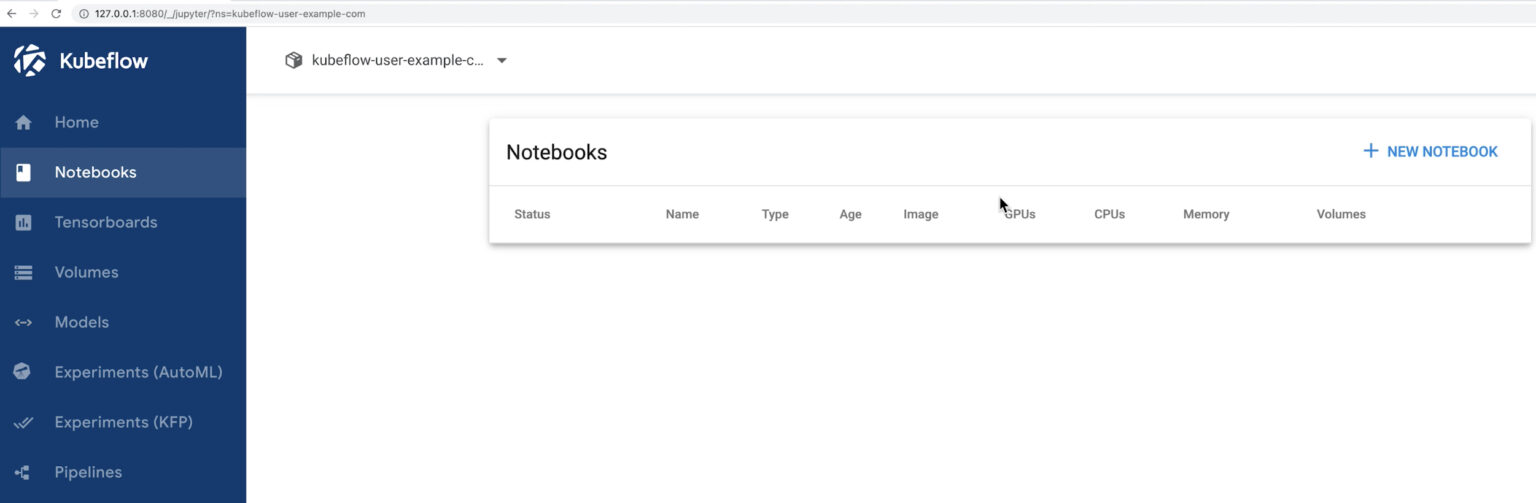
That’s all the setup you need to do as part of this blog. In the next blog, we will talk about how you can use the Kubeflow UI to create your Jupyter Notebooks for data preparation, training, and inference. We will also discuss how to use Portworx snapshots and PX-Backup to restore your trained models to the same cluster and transfer your trained models to a new EKS cluster respectively.


