A growing number of enterprises and startups—in almost all industry verticals—run their applications on AWS. If you are just starting your company, AWS gives you the fastest and easiest way to ramp up and release your revenue-generating application to your end customers. It is also a great option if you are an enterprise with an on-prem footprint and you are looking for a way to reduce your CAPEX costs and the amount of time you spend on building and maintaining datacenters.
It is important to note, however, that there have been an increasing number of AWS outages over the past few months. In December 2021 alone, AWS us-east-1 region was hit with three different outages, resulting in service disruption for companies like Slack, Asana, Epic Games, and many more. To avoid these disruptions and ensure application uptime, architects need to build data protection and disaster recovery solutions, where they can quickly execute a recovery plan and reduce the recovery time for their applications.
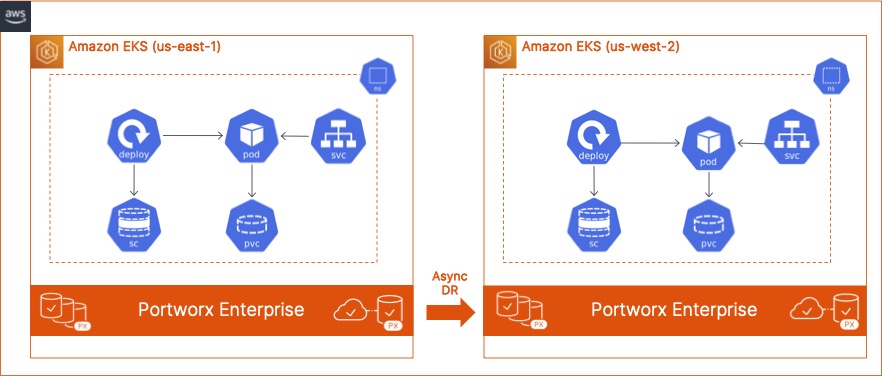
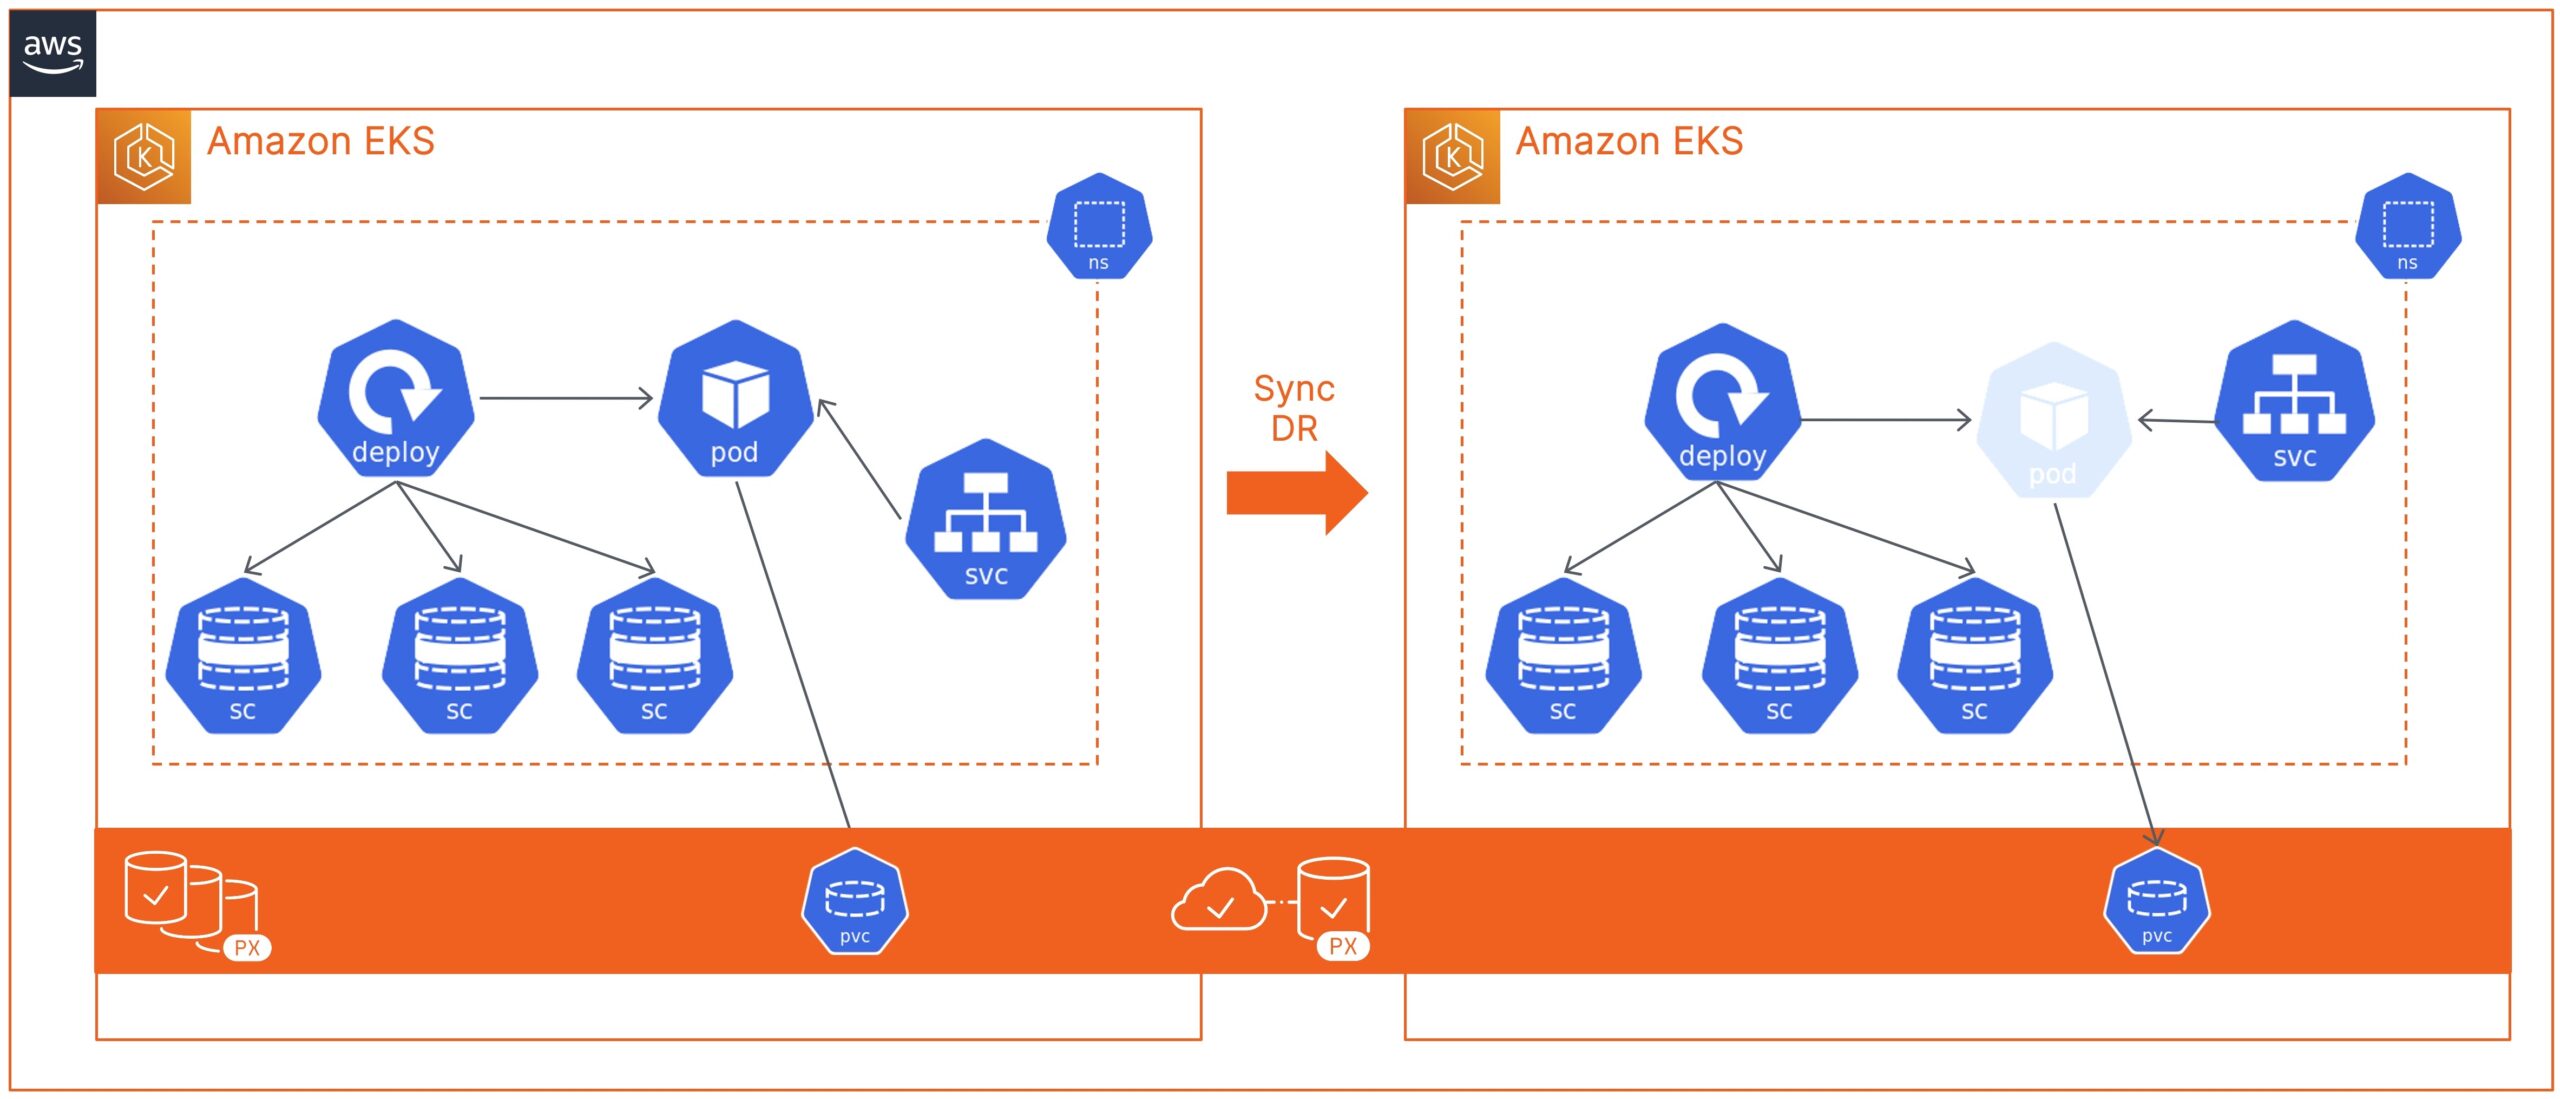
In this blog, we discuss how Cloud and DevOps Administrators can leverage Portworx PX-DR to build an asynchronous disaster recovery solution for their containerized applications running on AWS EKS. Deploying a resilient and robust DR solution using PX-DR can help organizations quickly recover from AWS region outages and bring their applications online in a secondary EKS cluster running in a different AWS region.
To get started with Portworx PX-DR, we will need two EKS clusters.
- You can use the tool of your choice to deploy these EKS clusters. You can follow this link, to use eksctl to deploy your EKS clusters. Since we are demonstrating region-level fault tolerance, be sure that your EKS clusters are running in different AWS regions.
- Once you have your EKS clusters running, you will need to create appropriate inbound rules in your AWS Security Groups to allow communication between the two clusters over ports 9001 and 9010.
- Since we are deploying Async DR using Portworx PX-DR, we won’t need a shared ETCD instance between the two EKS clusters. You can either use built-in ETCD on each of your EKS clusters, or, for production environments, deploy a highly available ETCD instance for each of your EKS clusters running in the same AWS region.
- Next, let’s go ahead and generate Portworx configurations using Portworx PX-Central. While generating the specification, choose the Portworx Operator and Portworx version 2.9 with a built-in or external ETCD, select Cloud. and choose AWS as your cloud platform.
- Next, you can choose the type and size of EBS volumes you want to use for your Portworx cloud drives. You can leave everything else at the default setting but set an environment variable of “ENABLE_ASG_STORAGE_PARTITIONING” with a value of “true.”
- Generate different configurations for your primary and secondary clusters respectively and apply those using kubectl.
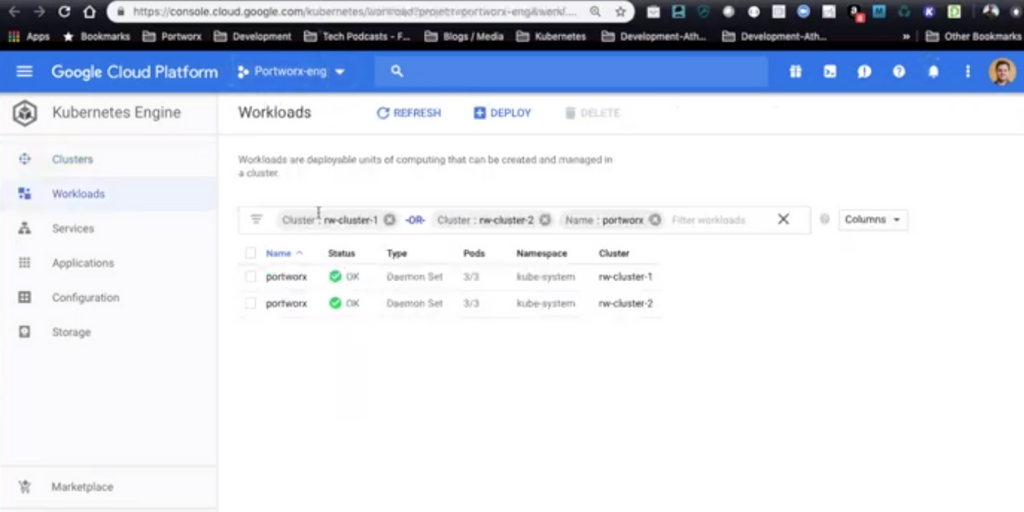
- Once you have both your Portworx clusters up and running, use the following commands to exec into the Portworx pods and apply the correct DR license key:
PX_POD=$(kubectl get pods -l name=portworx -n kube-system -o jsonpath='{.items[0].metadata.name}')
kubectl exec $PX_POD -n kube-system --  /opt/pwx/bin/pxctl status | grep UUID | awk '{print $3}'

/opt/pwx/bin/pxctl license activate <<license-key>>
- Next, let’s configure storkctl on your jumphost:
STORK_POD=$(kubectl get pods -n kube-system -l name=stork -o jsonpath='{.items[0].metadata.name}') &&
kubectl cp -n kube-system $STORK_POD:/storkctl/linux/storkctl ./storkctl
sudo mv storkctl /usr/local/bin &&
sudo chmod +x /usr/local/bin/storkctl
- Next, since we are building a DR solution for AWS EKS, we will need to configure a secret in the kube-system namespace and pass that secret to Stork running on the source cluster:
kubectl create secret generic --from-file=$HOME/.aws/credentials -n kube-system aws-creds

###
kubectl edit deployment -n kube-system stork

### Add the following under the spec.template.spec section
volumes:
- name: aws-creds
secret:
   secretName: aws-creds

### Add the following under spec.template.spec.containers
volumeMounts:
- mountPath: /root/.aws/
  name: aws-creds
  readOnly: true
- Next, we will enable load balancing for our Portworx service on each cluster.
Note: Do not enable load balancing without authorization enabled on the Portworx cluster.
kubectl edit service portworx-service -n kube-system
kind: Service
apiVersion: v1
metadata:
  name: portworx-service
  namespace: kube-system
  labels:
    name: portworx
spec:
  selector:
    name: portworx
  type: loadBalancer
- Next, go ahead and configure object storage credentials and clusterpair objects between the two EKS clusters, and create a schedule policy and a migration schedule object. We have covered deploying these objects extensively in previous blogs and in our documentation. In this blog, I want to cover the failover and failback process specifically.
- Next, let’s verify that your migration schedule is working before we perform a failover operation.
storkctl get migrationschedule -n <<demo-namespace>>
storkctl get migrations -n <<demo-namespace>>
- To simulate a failure between our EKS clusters, we will go ahead and suspend the migration schedule and scale down our application. In case of an actual failure event, you will lose access to your primary cluster, so you can skip this section. Edit the migrationschedule object and set the suspend flag to true.
storkctl edit migrationschedule <<migrationschedule-name>> -n <<demo-namespace>>

apiVersion: stork.libopenstorage.org/v1alpha1
kind: MigrationSchedule
metadata:
  name: mysqlmigrationschedule
  namespace: migrationnamespace
spec:
  template:
    spec:
      clusterPair: remotecluster
      includeResources: true
      startApplications: false
      includeVolumes: false
      namespaces:
      - migrationnamespace
  schedulePolicyName: testpolicy
  suspend: true
- Once that is done, scale down the number of replicas for your deployment objects:
kubectl scale --replicas 0 deployment/<<deploymentname>> -n <<demo-namespace>>
- Next, let’s log in to the secondary EKS cluster and activate the migration to bring your applications back online. This command spins up the original number of replicas configured for your deployment objects.
storkctl activate migrations -n <<demo-namespace>>
- You can validate that all of your Kubernetes objects and persistent volume claims are online by using the following commands:
kubectl get all -n <<demo-namespace>>
kubectl get pvc -n <<demo-namespace>>
Deploying and building a disaster recovery solution is just that easy with Portworx PX-DR, and now you know how to restore your applications quickly in a different AWS region and avoid bad customer experience if us-east-1 goes down again.
We also captured all these steps in a demo video on our YouTube channel; you can find that below:
Share
Subscribe for Updates
About Us
Portworx is the leader in cloud native storage for containers.
Thanks for subscribing!

Bhavin Shah
Sr. Technical Marketing Manager | Cloud Native BU, Pure StorageExplore Related Content:
- Amazon EKS
- disaster recovery
- kubernetes
- portworx


