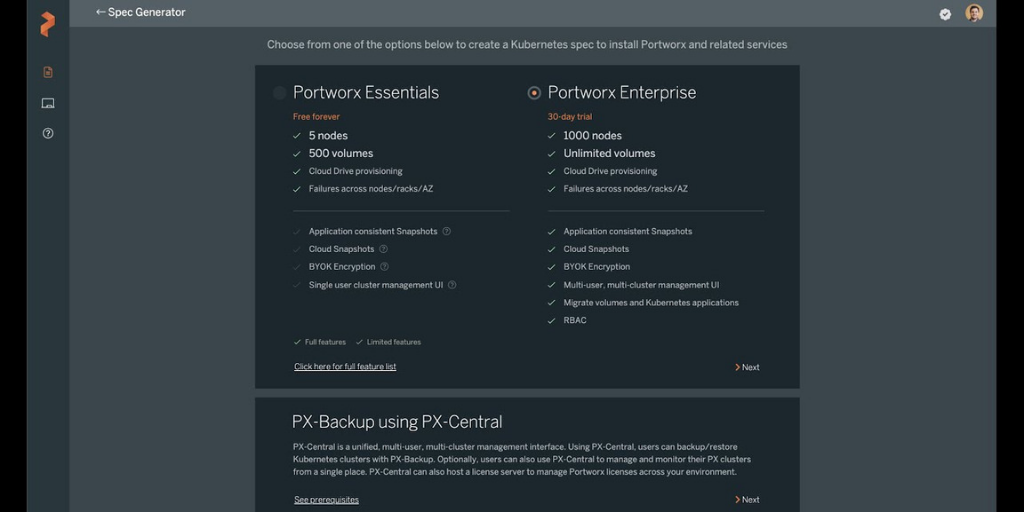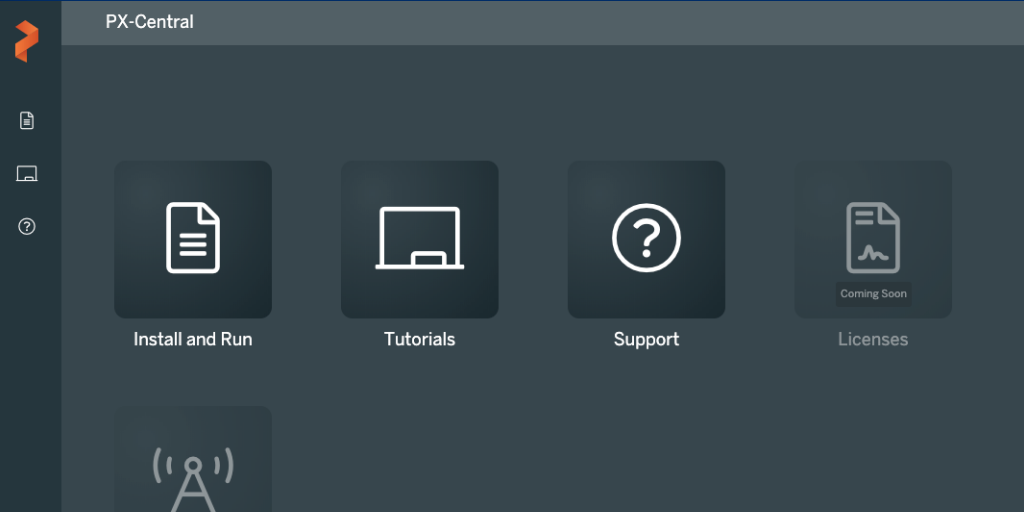
The standard practice in organizations is to enable authentication to their Kubernetes clusters. This authentication layer determines if the associated user’s requests are permitted. PX-Central comes with built-in integration with Lightweight Directory Access Protocol (LDAP) allowing organizations to provide self-service data protection for their Kubernetes tenants using RBAC.
In this blog, we will walk through how you can integrate LDAP/Active Directory with PX-Central.
Configure Keycloak LDAP/Active Directory integration
With PX-Central already installed, you can follow these general steps to integrate LDAP.
- Obtain the px-central-ui endpoint by using the following command:
kubectl get svc -n central | grep px-central-ui
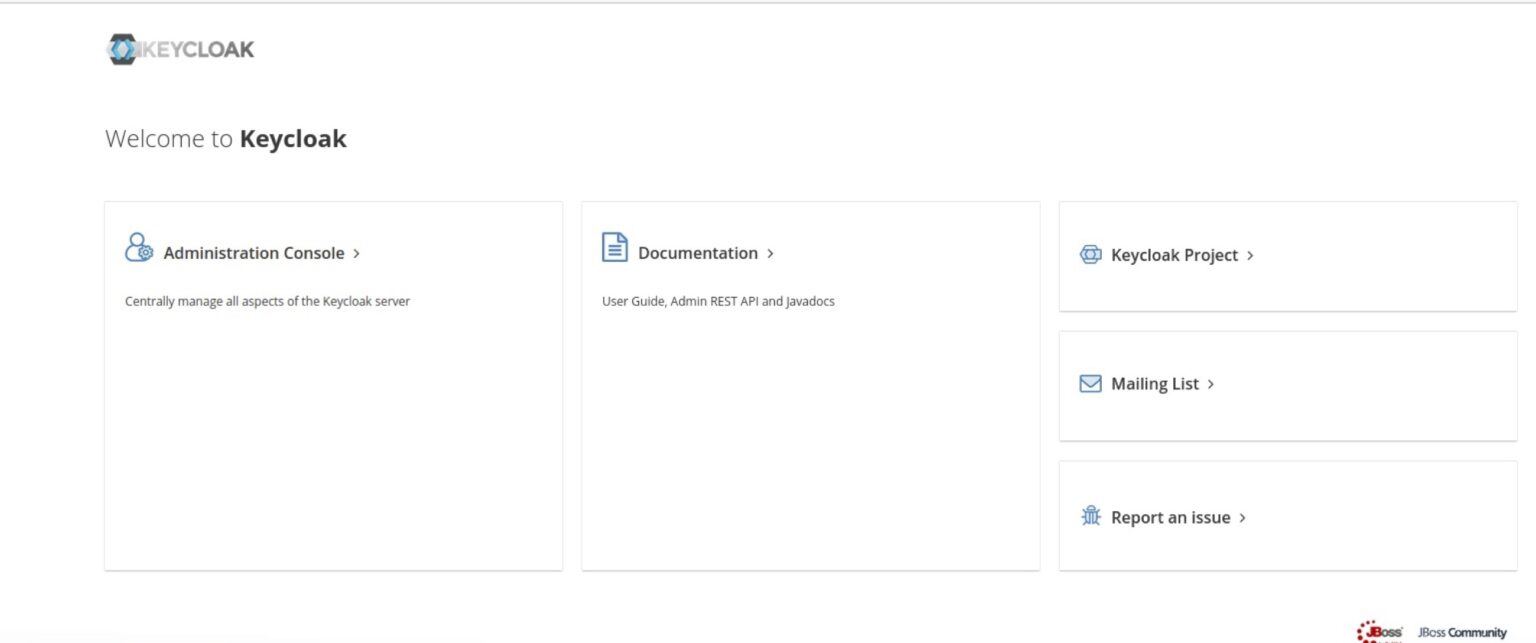
- Open browser to keycloak home page https://<px-central-ui-svc-endpoint>/auth and click on Administration Console and provide your admin credentials
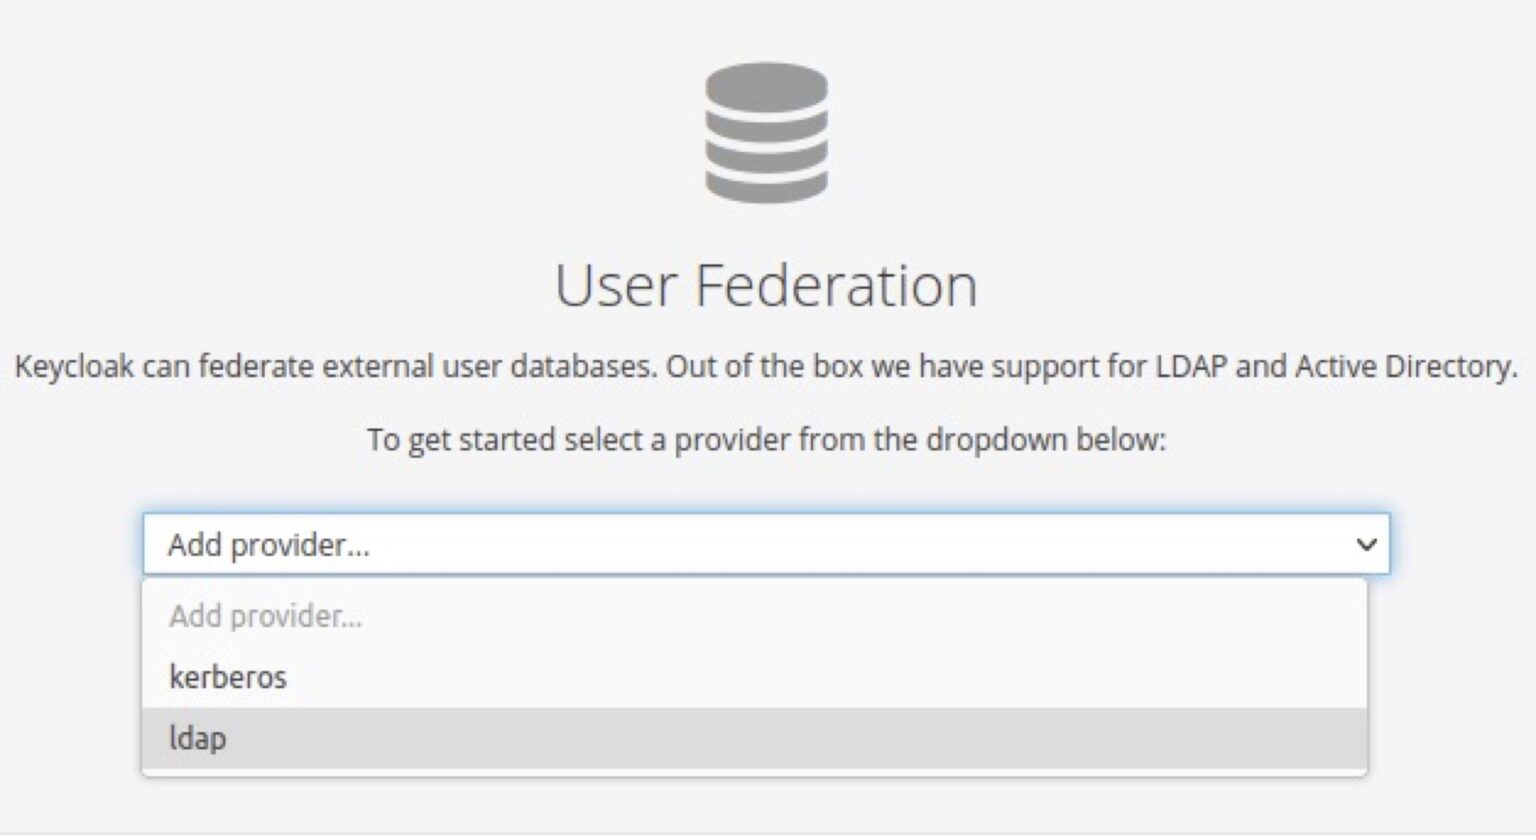
- From the left menu select User Federation and click on Add provider and select LDAP
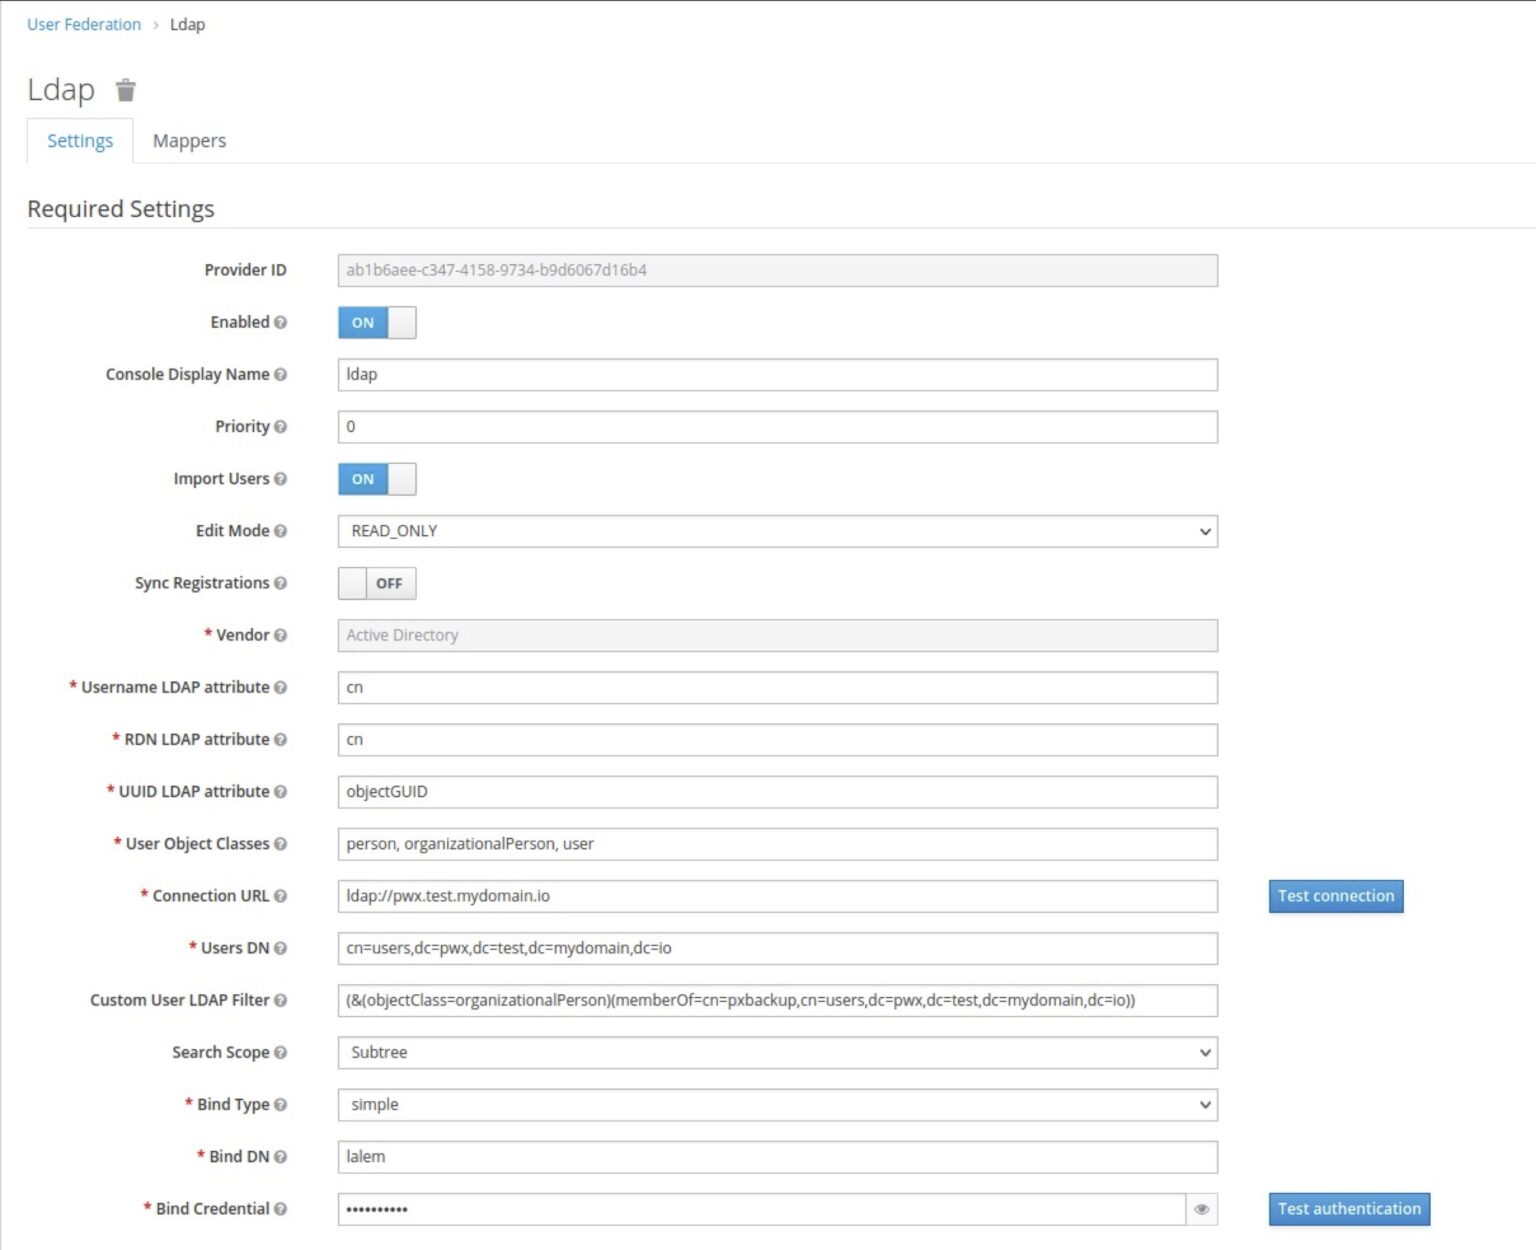
- Fill out the fields with your LDAP configuration in the Add user federation provider page
-
- Console Display Name: You can provide a name of your choosing
- Edit Mode: READ_ONLY
- Vendor: Your LDAP provider
- Username LDAP attribute: cn
- RDN LDAP attribute: cn
- UUID LDAP attribute: objectGUID
- User Object Classes: person, organizationalPerson, user
- Connection URL: your LDAP URL
- Users DN: this is the tree for your LDAP users and you can obtain this from your LDAP users container property.
- Custom User LDAP Filter: custom filter can be applied to tell LDAP to only sync specific groups. It is recommended to place the PX-Central users within a group and apply the filter to sync that group only. This way only the users that need access to PX-Central are added to the keycloak database.
- Search Scope: Subtree
- Bind Type: simple
- Bind DN: your LDAP admin username, this will be used to access LDAP and sync the users with keycloak database.
- Bind Credential your LDAP admin password
- Verify your LDAP connection by clicking on Test connection and also verify your bind credentials by clicking on Test Authentication.
- Leave the rest of the options at default.
- Click on Save and then click on Synchronize all users button at the bottom of the page, you should get a success message indicating the users have been imported successfully.

Note: If you are using secure LDAP connects (ldaps):
- Create a secret with the ldap certificate in the same namespace where PX-Central is deployed.
- Run the helm update command to pass the secret to PX-Central using option –caCertsSecretName=<Secret Name>.
- In Keycloak, change the user federation provider connection url to ldaps instead of ldap.
Configure RBAC permissions for end-users
Now that we have synchronized keycloak with LDAP we need to give the users RBAC roles to be able to use PX-Backup.
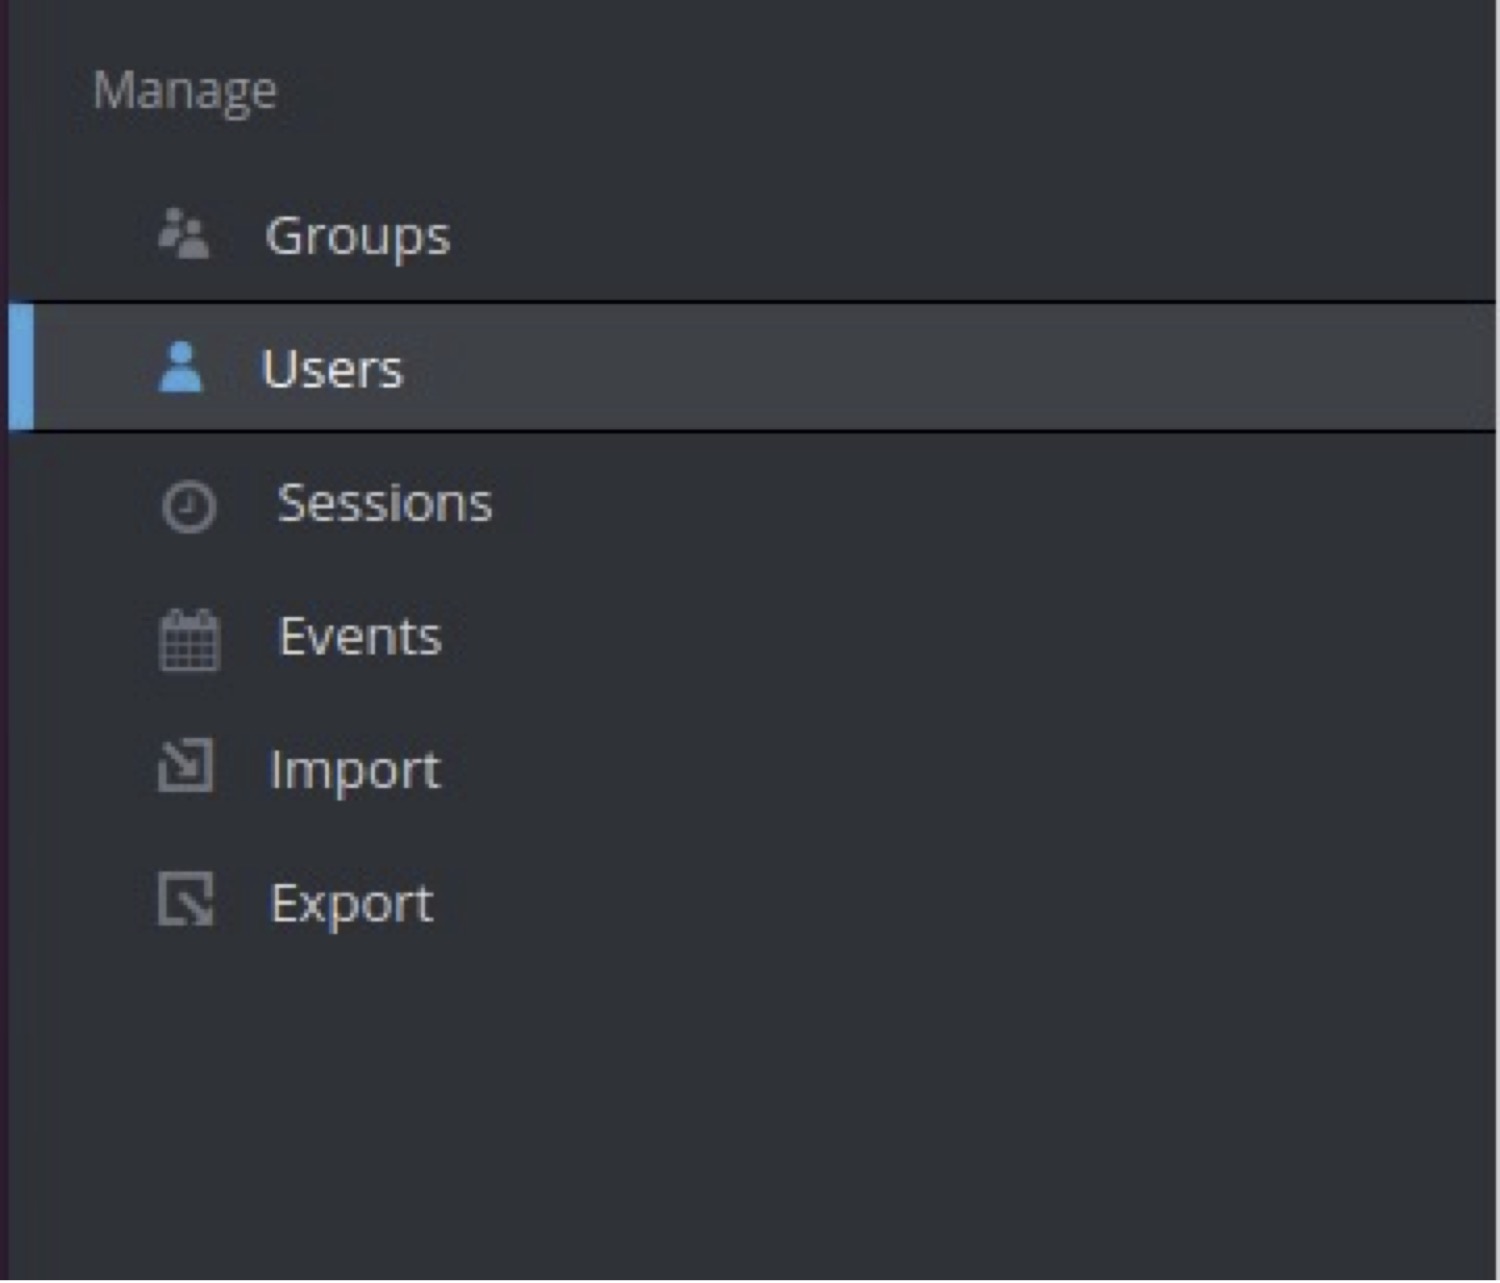
- From the left menu under manage select ‘Users’:
- In the right pane, click on ‘View all users’, then start providing the roles to the users by selecting users from the list and then navigating to the Role Mappings tab, and providing the desired RBAC.

- Verify the user/users were added by logging in to PX-Central UI https://<px-central-ui-svc-endpoint> and click on PX-Backup-Security from the bottom left corner user icon and verify the user/users were added with the proper permission.
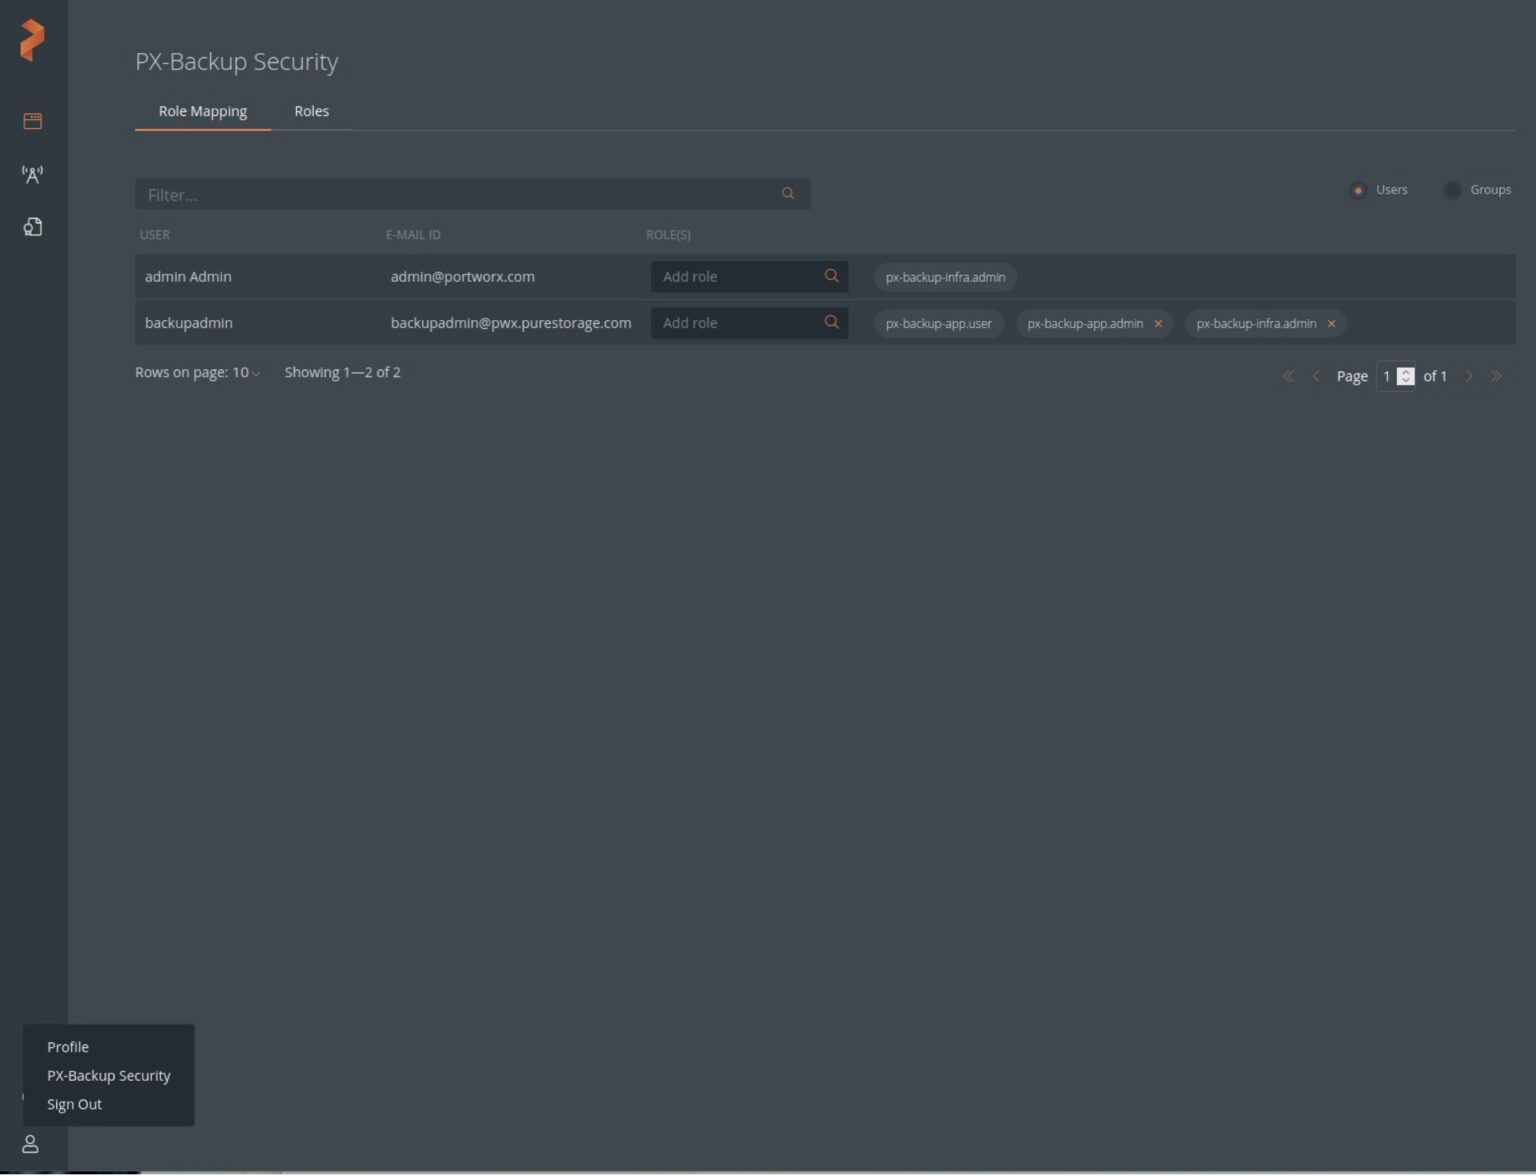
Now users can log in to PX-Central with their LDAP credentials and use PX-Backup within the boundary of the RBAC permission they were given.
Share
Subscribe for Updates
About Us
Portworx is the leader in cloud native storage for containers.
Thanks for subscribing!


