
This post is part of our ongoing series on running MongoDB on Kubernetes. We’ve published a number of articles about running MongoDB on Kubernetes for specific platforms and for specific use cases. If you are looking for a specific Kubernetes platform, check out these related articles.
Running HA MongoDB on Red Hat OpenShift
Running HA MongoDB on Amazon Elastic Container Service for Kubernetes (EKS)
Running HA MongoDB on Google Kubernetes Engine (GKE)
Running HA MongoDB on IBM Cloud Kubernetes Service (IKS)
Running HA MongoDB on IBM Cloud Private
Running HA MongoDB with Rancher Kubernetes Engine (RKE)
Failover MongoDB 300% faster and run only 1/3 the pods
And now, onto the post…
We’ve been excited to partner with Microsoft, including enabling innovative customers like Beco to build an IoT cloud on Microsoft Azure. Working with the Azure Kubernetes Service (AKS) team and Brendan Burns, distinguished engineer at Microsoft, we’re excited to showcase how Portworx runs on AKS to provide seamless support for any Kubernetes customer. Brendan and Eric Han, our VP of Product, were both part of the original Kubernetes team at Google and it is exciting to watch Kubernetes mature and extend into the enterprise.
Today’s post will look at how to run a HA MongoDB database on Azure Kubernetes Service (AKS), a managed Kubernetes offering from Microsoft, which makes it easy to create, configure, and manage a cluster of virtual machines that are preconfigured to run containerized applications.
Portworx, is a cloud-native storage platform to run persistent workloads deployed on a variety of orchestration engines including Kubernetes. With Portworx, customers can manage the database of their choice on any infrastructure using any container scheduler. It provides a single data management layer for all stateful services, no matter where they run.
This tutorial is a walk-through of the steps involved in deploying and managing a highly available MongoDB NoSQL database on AKS.
In summary, to run HA MongoDB on AKS you need to:
- Create an AKS cluster
- Provision storage nodes with Managed Disks in order to allow for compute nodes to scale independently of storage
- Install cloud native storage solution like Portworx as a daemon set on AKS
- Create storage class defining your storage requirements like replication factor, snapshot policy, and performance profile
- Deploy MongoDB using Kubernetes
- Test failover by killing or cordoning node in your cluster and confirming that data is still accessible
- Dynamically resize MongoDB volume
- Take a snapshot and backup MongoDB to object storage
How to set up an AKS cluster
Portworx is fully supported on Azure Kubernetes Service. Run the following commands to configure a 3 node cluster in Europe West. More on Azure AKS is available here.
$ az group create --name px --location westeurope
$ az aks install-cli
$ az aks create --resource-group px --name pxdemo --node-count 3 --generate-ssh-keys
$ az aks get-credentials --resource-group px --name pxdemo
When the cluster is ready, verify it with the following command:
$ kubectl get nodes
NAME                       STATUS    ROLES     AGE       VERSION
aks-nodepool1-28253507-0   Ready     agent     3h        v1.9.9
aks-nodepool1-28253507-1   Ready     agent     3h        v1.9.9
aks-nodepool1-28253507-2   Ready     agent     3h        v1.9.9

Provision Azure Storage Nodes
Running storage nodes separately from compute nodes will allow us to independently scale compute and storage resources. We use Portworx to manage the storage nodes and also access storage from the compute nodes.
Follow these steps to create three storage node VMs. Afterwards, we attach the Managed Disk to the storage nodes in the Azure portal using these instructions. Finally, we ssh into the VM and install Portworx on each of the storage nodes using the commands below.
latest_stable=$(curl -fsSL 'https://install.portworx.com/1.4/?type=dock&stork=false' | awk '/image: / {print $2}')

# Download OCI bits (reminder, you will still need to run `px-runc install ..` after this step)
sudo docker run --entrypoint /runc-entry-point.sh \
--rm -i --privileged=true \
-v /opt/pwx:/opt/pwx -v /etc/pwx:/etc/pwx \
$latest_stable
# Basic installation where
sudo /opt/pwx/bin/px-runc install -c CLUSTER-NAME \
-k etcd://[etcd-service]:2379 \
-a -f
# Reload systemd configurations, enable and start Portworx service
sudo systemctl daemon-reload
sudo systemctl enable portworx
sudo systemctl start portworx
For the CLUSTER-NAME, use the same string in each of your installs for that cluster.
Installing Portworx in AKS
Installing Portworx on Azure Kubernetes Service is not very different from installing it on a Kubernetes cluster setup through Kops. Portworx AKS documentation has the steps involved in running the Portworx cluster in a Kubernetes environment deployed in Azure.
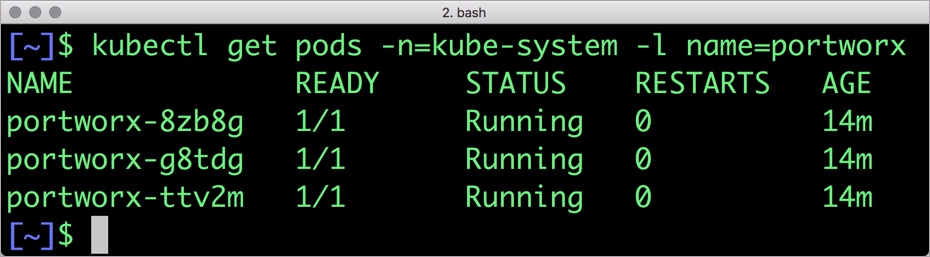
Portworx cluster needs to be up and running on AKS before proceeding to the next step. The kube-system namespace should have the Portworx pods in running state.
$ kubectl get pods -n=kube-system -l name=portworx
NAME             READY     STATUS    RESTARTS   AGE
portworx-8zb8g   1/1       Running   0          14m
portworx-g8tdg   1/1       Running   0          14m
portworx-ttv2m   1/1       Running   0          14m
Creating a Kubernetes storage class for MongoDB
Once the AKS cluster is up and running, and Portworx is installed and configured, we will deploy a highly available MongoDB database.
Through storage class objects, an admin can define different classes of Portworx volumes that are offered in a cluster. These classes will be used during the dynamic provisioning of volumes. The storage class defines the replication factor, I/O profile (e.g., for a database or a CMS), and priority (e.g., SSD or HDD). These parameters impact the availability and throughput of workloads and can be specified for each volume. This is important because a production database will have different requirements than a development Jenkins cluster.
In this example, the storage class that we deploy has a replication factor of 3 with I/O profile set to “db,” and priority set to “high.” This means that the storage will be optimized for low latency database workloads like MongoDB and automatically placed on the highest performance storage available in the cluster. Notice that we also mention the filesystem, xfs in the storage class.
$ cat > px-mongo-sc.yaml << EOF
kind: StorageClass
apiVersion: storage.k8s.io/v1beta1
metadata:
    name: px-ha-sc
provisioner: kubernetes.io/portworx-volume
parameters:
  repl: "3"
  io_profile: "db_remote"
  priority_io: "high"
  fs: "xfs"
EOF
Create the storage class and verify its available in the default namespace.
$ kubectl create -f px-mongo-sc.yaml
storageclass.storage.k8s.io "px-ha-sc" created

$ kubectl get sc
NAME                PROVISIONER                AGE
default (default)   kubernetes.io/azure-disk   49m
managed-premium     kubernetes.io/azure-disk   49m
stork-snapshot-sc   stork-snapshot             10m
Creating a MongoDB PVC on Kubernetes
We can now create a Persistent Volume Claim (PVC) based on the Storage Class. Thanks to dynamic provisioning, the claims will be created without explicitly provisioning a persistent volume (PV).
$ cat > px-mongo-pvc.yaml << EOF
kind: PersistentVolumeClaim
apiVersion: v1
metadata:
   name: px-mongo-pvc
   annotations:
     volume.beta.kubernetes.io/storage-class: px-ha-sc
spec:
   accessModes:
     - ReadWriteOnce
   resources:
     requests:
       storage: 1Gi
EOF
$ kubectl create -f px-mongo-pvc.yaml
persistentvolumeclaim "px-mongo-pvc" created
$ kubectl get pvc
NAME           STATUS    VOLUME                                     CAPACITY   ACCESS MODES   STORAGECLASS   AGE
px-mongo-pvc   Bound     pvc-ab7803d4-92e6-11e8-97af-2621d57c5143   1Gi        RWO            px-ha-sc       2m
Deploying MongoDB on AKS
Finally, let’s create a MongoDB instance as a Kubernetes deployment object. For simplicity’s sake, we will just be deploying a single Mongo pod. Because Portworx provides synchronous replication for High Availability, a single MongoDB instance might be the best deployment option for your MongoDB database. Portworx can also provide backing volumes for multi-node MongoDB replica sets. The choice is yours.
$ cat > px-mongo-app.yaml << EOF
apiVersion: apps/v1
kind: Deployment
metadata:
  name: mongo
spec:
  strategy:
    rollingUpdate:
      maxSurge: 1
      maxUnavailable: 1
    type: RollingUpdate
  replicas: 1
  selector:
    matchLabels:
      app: mongo
  template:
    metadata:
      labels:
        app: mongo
    spec:
      schedulerName: stork
      containers:
      - name: mongo
        image: mongo
        imagePullPolicy: "Always"
        ports:
        - containerPort: 27017
        volumeMounts:
        - mountPath: /data/db
          name: mongodb
      volumes:
      - name: mongodb
        persistentVolumeClaim:
          claimName: px-mongo-pvc
EOF
$ kubectl create -f px-mongo-app.yaml
deployment.extensions "mongo" created
The MongoDB deployment defined above is explicitly associated with the PVC, px-mongo-pvc created in the previous step.
This deployment creates a single pod running MongoDB backed by Portworx.
$ kubectl get pods
NAME                     READY     STATUS    RESTARTS   AGE
mongo-97b758c4c-9cf4r   1/1       Running   0          57s
We can inspect the Portworx volume by accessing the pxctl tool running with the Mongo pod.
$ VOL=`kubectl get pvc | grep px-mongo-pvc | awk '{print $3}'`
$ PX_POD=$(kubectl get pods -l name=portworx -n kube-system -o jsonpath='{.items[0].metadata.name}')
$ kubectl exec -it $PX_POD -n kube-system -- /opt/pwx/bin/pxctl volume inspect ${VOL}
Volume	:  385355483598544863
	Name            	 :  pvc-ab7803d4-92e6-11e8-97af-2621d57c5143
	Size            	 :  1.0 GiB
	Format          	 :  xfs
	HA              	 :  3
	IO Priority     	 :  LOW
	Creation time   	 :  Jul 29 04:21:52 UTC 2018
	Shared          	 :  no
	Status          	 :  up
	State           	 :  Attached: aks-nodepool1-28253507-2 (10.240.0.6)
	Device Path     	 :  /dev/pxd/pxd385355483598544863
	Labels          	 :  namespace=default,pvc=px-mongo-pvc
	Reads           	 :  55
	Reads MS        	 :  112
	Bytes Read      	 :  249856
	Writes          	 :  117
	Writes MS       	 :  124
	Bytes Written   	 :  2576384
	IOs in progress 	 :  0
	Bytes used      	 :  11 MiB
Replica sets on nodes:
		Set 0
		  Node 		 : 10.240.0.5 (Pool 0)
		  Node 		 : 10.240.0.6 (Pool 0)
		  Node 		 : 10.240.0.4 (Pool 0)
	Replication Status	 :  Up
	Volume consumers	 :
		- Name           : mongo-97b758c4c-9cf4r (a17f5750-92e8-11e8-97af-2621d57c5143) (Pod)
		  Namespace      : default
		  Running on     : aks-nodepool1-28253507-2
		  Controlled by  : mongo-97b758c4c (ReplicaSet)
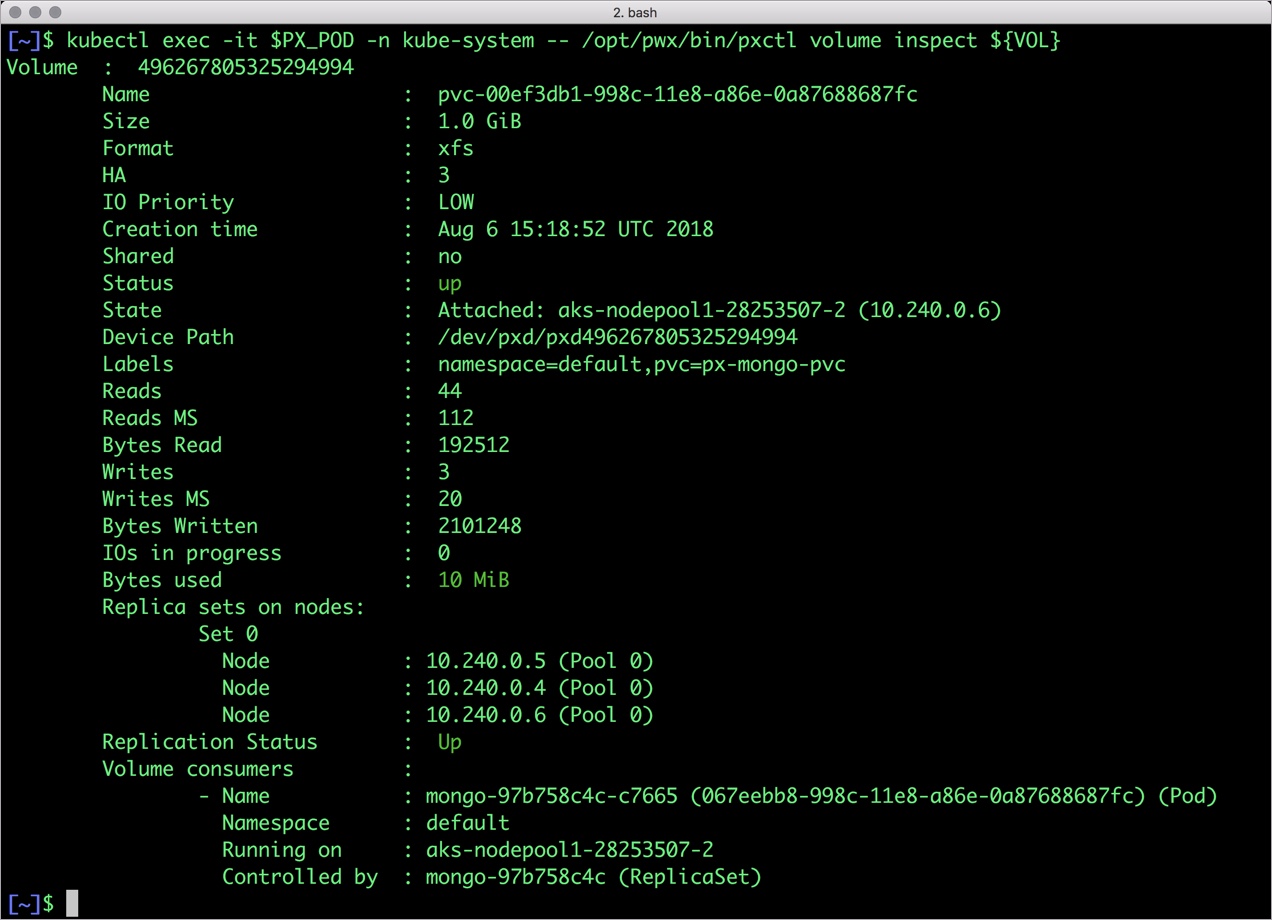
The output from the above command confirms the creation of volumes that are backing MongoDB database instance.
Failing over MongoDB pod on Kubernetes
Populating sample data
Let’s populate the database with some sample data.
We will first find the pod that’s running MongoDB to access the shell.
$ POD=`kubectl get pods -l app=mongo | grep Running | grep 1/1 | awk '{print $1}'`
$ kubectl exec -it $POD mongo
MongoDB shell version v4.0.0
connecting to: mongodb://127.0.0.1:27017
MongoDB server version: 4.0.0
Welcome to the MongoDB shell.
…..
Now that we are inside the shell, we can populate a collection.
db.ships.insert({name:'USS Enterprise-D',operator:'Starfleet',type:'Explorer',class:'Galaxy',crew:750,codes:[10,11,12]})
db.ships.insert({name:'USS Prometheus',operator:'Starfleet',class:'Prometheus',crew:4,codes:[1,14,17]})
db.ships.insert({name:'USS Defiant',operator:'Starfleet',class:'Defiant',crew:50,codes:[10,17,19]})
db.ships.insert({name:'IKS Buruk',operator:' Klingon Empire',class:'Warship',crew:40,codes:[100,110,120]})
db.ships.insert({name:'IKS Somraw',operator:' Klingon Empire',class:'Raptor',crew:50,codes:[101,111,120]})
db.ships.insert({name:'Scimitar',operator:'Romulan Star Empire',type:'Warbird',class:'Warbird',crew:25,codes:[201,211,220]})
db.ships.insert({name:'Narada',operator:'Romulan Star Empire',type:'Warbird',class:'Warbird',crew:65,codes:[251,251,220]})
Let’s run a few queries on the Mongo collection.
Find one arbitrary document:
db.ships.findOne()
{
	"_id" : ObjectId("5b5c16221108c314d4c000cd"),
	"name" : "USS Enterprise-D",
	"operator" : "Starfleet",
	"type" : "Explorer",
	"class" : "Galaxy",
	"crew" : 750,
	"codes" : [
		10,
		11,
		12
	]
}
Find all documents and using nice formatting:
db.ships.find().pretty()
…..
{
	"_id" : ObjectId("5b5c16221108c314d4c000d1"),
	"name" : "IKS Somraw",
	"operator" : " Klingon Empire",
	"class" : "Raptor",
	"crew" : 50,
	"codes" : [
		101,
		111,
		120
	]
}
{
	"_id" : ObjectId("5b5c16221108c314d4c000d2"),
	"name" : "Scimitar",
	"operator" : "Romulan Star Empire",
	"type" : "Warbird",
	"class" : "Warbird",
	"crew" : 25,
	"codes" : [
		201,
		211,
		220
	]
}
…..
Shows only the names of the ships:
db.ships.find({}, {name:true, _id:false})
{ "name" : "USS Enterprise-D" }
{ "name" : "USS Prometheus" }
{ "name" : "USS Defiant" }
{ "name" : "IKS Buruk" }
{ "name" : "IKS Somraw" }
{ "name" : "Scimitar" }
{ "name" : "Narada" }

Finds one document by attribute:
db.ships.findOne({'name':'USS Defiant'})
{
	"_id" : ObjectId("5b5c16221108c314d4c000cf"),
	"name" : "USS Defiant",
	"operator" : "Starfleet",
	"class" : "Defiant",
	"crew" : 50,
	"codes" : [
		10,
		17,
		19
	]
}
Exit from the client shell to return to the host.
Simulating node failure
Now, let’s simulate the node failure by cordoning off the node on which MongoDB is running.
$ NODE=`kubectl get pods -l app=mongo -o wide | grep -v NAME | awk '{print $7}'`

$ kubectl cordon ${NODE}
node "aks-nodepool1-28253507-2" cordoned
The above command disabled scheduling on one of the nodes.
$ kubectl get nodes
NAME                                            STATUS                     ROLES     AGE       VERSION
aks-nodepool1-28253507-0   Ready                      agent     1h        v1.9.9
aks-nodepool1-28253507-1   Ready                      agent     1h        v1.9.9
aks-nodepool1-28253507-2   Ready,SchedulingDisabled   agent     1h        v1.9.9
Now, let’s go ahead and delete the MongoDB pod.
$ POD=`kubectl get pods -l app=mongo -o wide | grep -v NAME | awk '{print $1}'`
$ kubectl delete pod ${POD}
pod "mongo-97b758c4c-9cf4r" deleted
As soon as the pod is deleted, it is relocated to the node with the replicated data. STorage ORchestrator for Kubernetes (STORK), Portworx’s custom storage scheduler allows co-locating the pod on the exact node where the data is stored. It ensures that an appropriate node is selected for scheduling the pod.
Let’s verify this by running the below command. We will notice that a new pod has been created and scheduled in a different node.
$ kubectl get pods -l app=mongo -o wide
NAME                     READY     STATUS    RESTARTS   AGE       IP               NODE
mongo-68cc69bc95-thqbm   1/1       Running   0          19s       192.168.82.119   aks-nodepool1-28253507-1
Let’s uncordon the node to bring it back to action.
$ kubectl uncordon ${NODE}
node "aks-nodepool1-28253507-2" uncordoned
Finally, let’s verify that the data is still available.
Verifying that the data is intact
Let’s find the pod name and run the ‘exec’ command, and then access the Mongo shell.
POD=`kubectl get pods -l app=mongo | grep Running | grep 1/1 | awk '{print $1}'`
kubectl exec -it $POD mongo
MongoDB shell version v4.0.0
connecting to: mongodb://127.0.0.1:27017
MongoDB server version: 4.0.0
Welcome to the MongoDB shell.
…..
We will query the collection to verify that the data is intact.
Find one arbitrary document:
db.ships.findOne()
{
	"_id" : ObjectId("5b5c16221108c314d4c000cd"),
	"name" : "USS Enterprise-D",
	"operator" : "Starfleet",
	"type" : "Explorer",
	"class" : "Galaxy",
	"crew" : 750,
	"codes" : [
		10,
		11,
		12
]
}
Find all documents and using nice formatting:
db.ships.find().pretty()
…..
{
	"_id" : ObjectId("5b5c16221108c314d4c000d1"),
	"name" : "IKS Somraw",
	"operator" : " Klingon Empire",
	"class" : "Raptor",
	"crew" : 50,
	"codes" : [
		101,
		111,
		120
	]
}
{
	"_id" : ObjectId("5b5c16221108c314d4c000d2"),
	"name" : "Scimitar",
	"operator" : "Romulan Star Empire",
	"type" : "Warbird",
	"class" : "Warbird",
	"crew" : 25,
	"codes" : [
		201,
		211,
		220
	]
}
…..
Shows only the names of the ships:
db.ships.find({}, {name:true, _id:false})
{ "name" : "USS Enterprise-D" }
{ "name" : "USS Prometheus" }
{ "name" : "USS Defiant" }
{ "name" : "IKS Buruk" }
{ "name" : "IKS Somraw" }
{ "name" : "Scimitar" }
{ "name" : "Narada" }
Finds one document by attribute:
db.ships.findOne({'name':Narada'})
{
	"_id" : ObjectId("5b5c16221108c314d4c000d3"),
	"name" : "Narada",
	"operator" : "Romulan Star Empire",
	"type" : "Warbird",
	"class" : "Warbird",
	"crew" : 65,
	"codes" : [
		251,
		251,
		220
	]
}
Observe that the collection is still there and all the content is intact! Exit from the client shell to return to the host.
Performing Storage Operations on MongoDB
After testing end-to-end failover of the database, let’s perform StorageOps on MongoDB our AKS cluster.
Resize the Kubernetes Persistent Volume with no downtime
Currently the Portworx volume that we created at the beginning is of 1Gib size. We will now expand it to double the storage capacity.
First, let’s get the volume name and inspect it through the pxctl tool.
If you have access, SSH into one of the nodes and run the following command.
$ POD=`/opt/pwx/bin/pxctl volume list --label pvc=px-mongo-pvc | grep -v ID | awk '{print $1}'`
$ /opt/pwx/bin/pxctl v i $POD
Volume	:  256153964179478451
	Name            	 :  pvc-f256627c-92ec-11e8-97af-2621d57c5143
	Size            	 :  1.0 GiB
	Format          	 :  xfs
	HA              	 :  3
	IO Priority     	 :  LOW
	Creation time   	 :  Jul 29 05:05:41 UTC 2018
	Shared          	 :  no
	Status          	 :  up
	State           	 :  Attached: aks-nodepool1-28253507-2 (10.240.0.6)
	Device Path     	 :  /dev/pxd/pxd256153964179478451
	Labels          	 :  namespace=default,pvc=px-mongo-pvc
	Reads           	 :  72
	Reads MS        	 :  60
	Bytes Read      	 :  344064
	Writes          	 :  180
	Writes MS       	 :  184
	Bytes Written   	 :  2985984
	IOs in progress 	 :  0
	Bytes used      	 :  11 MiB
	Replica sets on nodes:
		Set 0
		  Node 		 : 10.240.0.5 (Pool 0)
		  Node 		 : 10.240.0.6 (Pool 0)
		  Node 		 : 10.240.0.4 (Pool 0)
	Replication Status	 :  Up
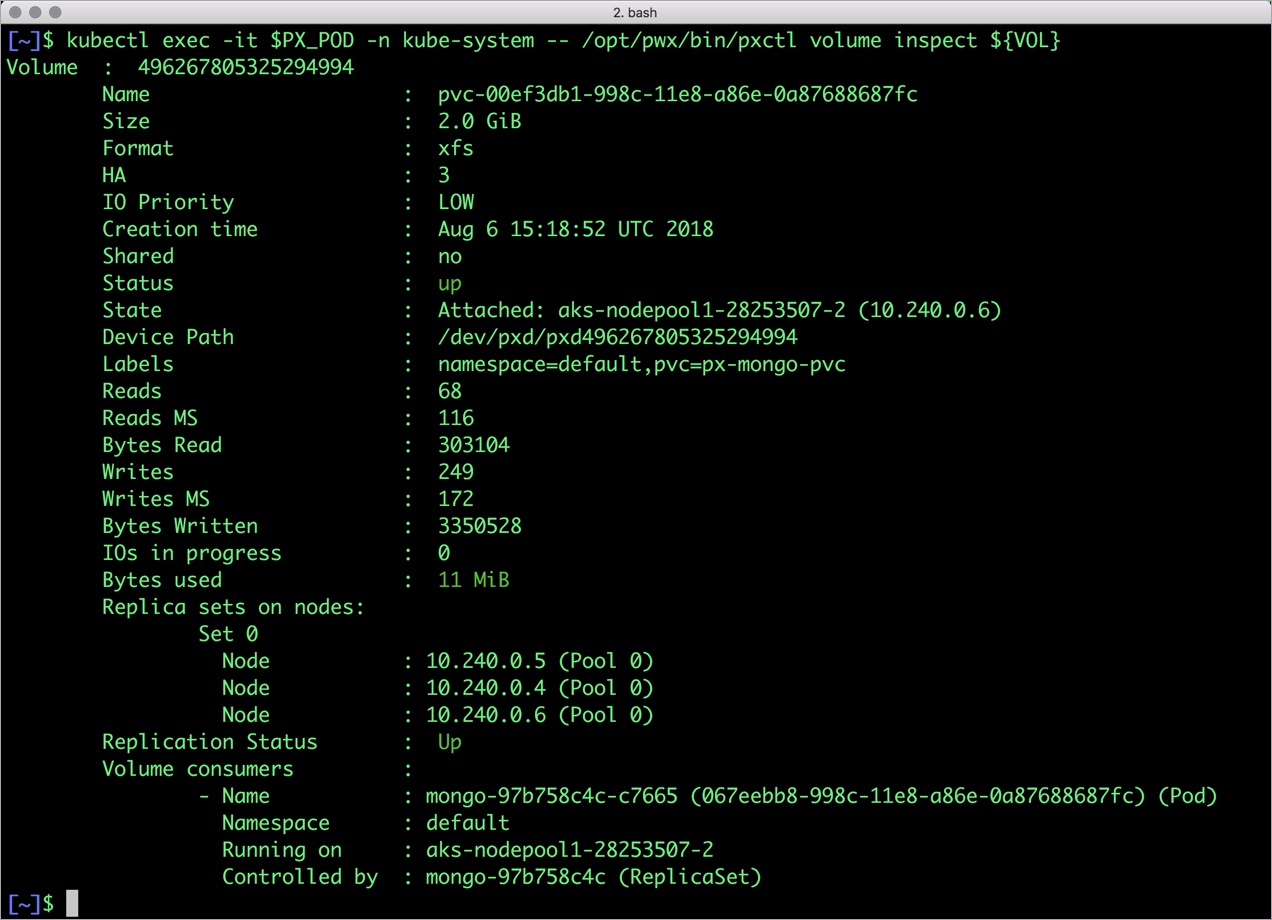
Notice the current Portworx volume. It is 1GiB. Let’s expand it to 2GiB.
$ /opt/pwx/bin/pxctl volume update $POD --size=2
Update Volume: Volume update successful for volume 256153964179478451
Check the new volume size. It is expanded to 2GiB.
$ /opt/pwx/bin/pxctl v i $POD
Volume	:  256153964179478451
	Name            	 :  pvc-f256627c-92ec-11e8-97af-2621d57c5143
	Size            	 :  2.0 GiB
	Format          	 :  xfs
	HA              	 :  3
	IO Priority     	 :  LOW
	Creation time   	 :  Jul 29 05:05:41 UTC 2018
	Shared          	 :  no
	Status          	 :  up
	State           	 :  Attached: aks-nodepool1-28253507-2 (10.240.0.6)
	Device Path     	 :  /dev/pxd/pxd256153964179478451
	Labels          	 :  namespace=default,pvc=px-mongo-pvc
	Reads           	 :  84
	Reads MS        	 :  64
	Bytes Read      	 :  393216
	Writes          	 :  218
	Writes MS       	 :  208
	Bytes Written   	 :  3153920
	IOs in progress 	 :  0
	Bytes used      	 :  11 MiB
	Replica sets on nodes:
		Set 0
		  Node 		 : 10.240.0.5 (Pool 0)
		  Node 		 : 10.240.0.6 (Pool 0)
		  Node 		 : 10.240.0.4 (Pool 0)
	Replication Status	 :  Up
Taking Snapshots of a Kubernetes volume and restoring the database
Portworx supports creating snapshots for Kubernetes PVCs.
Let’s create a snapshot for the PVC we created for MongoDB.
cat > px-mongo-snap.yaml << EOF
apiVersion: volumesnapshot.external-storage.k8s.io/v1
kind: VolumeSnapshot
metadata:
  name: px-mongo-snapshot
  namespace: default
spec:
  persistentVolumeClaimName: px-mongo-pvc
EOF
$ kubectl create -f px-mongo-snap.yaml
volumesnapshot.volumesnapshot.external-storage.k8s.io "px-mongo-snapshot" created
Verify the creation of volume snapshot.
$ kubectl get volumesnapshot
NAME                AGE
px-mongo-snapshot   1m
$ kubectl get volumesnapshotdatas
NAME                                                       AGE
k8s-volume-snapshot-fe5d35b2-92ed-11e8-b270-d681452d0483   3s
With the snapshot in place, let’s go ahead and delete the database.
$ POD=`kubectl get pods -l app=mongo | grep Running | grep 1/1 | awk '{print $1}'`
$ kubectl exec -it $POD mongo
db.ships.drop()
Since snapshots are just like volumes, we can use it to start a new instance of MongoDB. Let’s create a new instance of MongoDB by restoring the snapshot data.
$ cat > px-mongo-snap-pvc << EOF
apiVersion: v1
kind: PersistentVolumeClaim
metadata:
  name: px-mongo-snap-clone
  annotations:
    snapshot.alpha.kubernetes.io/snapshot: px-mongo-snapshot
spec:
  accessModes:
     - ReadWriteOnce
  storageClassName: stork-snapshot-sc
  resources:
    requests:
      storage: 2Gi
EOF

$ kubectl create -f px-mongo-snap-pvc.yaml
persistentvolumeclaim "px-mongo-snap-clone" created
From the new PVC, we will create a MongoDB pod.
cat < px-mongo-snap-restore.yaml >> EOF
apiVersion: apps/v1
kind: Deployment
metadata:
  name: mongo-snap
spec:
  strategy:
    rollingUpdate:
      maxSurge: 1
      maxUnavailable: 1
    type: RollingUpdate
  replicas: 1
  selector:
    matchLabels:
      app: mongo-snap
  template:
    metadata:
      labels:
        app: mongo-snap
    spec:
      affinity:
        nodeAffinity:
          requiredDuringSchedulingIgnoredDuringExecution:
            nodeSelectorTerms:
            - matchExpressions:
              - key: px/running
                operator: NotIn
                values:
                - "false"
              - key: px/enabled
                operator: NotIn
                values:
                - "false"
    spec:
      containers:
      - name: mongo
        image: mongo
        imagePullPolicy: "Always"
        ports:
        - containerPort: 27017
        volumeMounts:
        - mountPath: /data/db
          name: mongodb
      volumes:
      - name: mongodb
        persistentVolumeClaim:
          claimName: px-mongo-snap-clone
EOF

$ kubectl create -f px-mongo-snap-restore.yaml
deployment.extensions "mongo-snap" created
Verify that the new pod is in running state.
$ kubectl get pods -l app=mongo-snap
NAME                         READY     STATUS    RESTARTS   AGE
mongo-snap-85474d56c-cpjs7   1/1       Running   0          7s
Finally, let’s access the sample data created earlier in the walkthrough.
$ POD=`kubectl get pods -l app=mongo-snap | grep Running | grep 1/1 | awk '{print $1}'`
$ kubectl exec -it $POD mongo
MongoDB shell version v4.0.0
connecting to: mongodb://127.0.0.1:27017
MongoDB server version: 4.0.0
Welcome to the MongoDB shell.
…..
sdb.ships.find({}, {name:true, _id:false})
{ "name" : "USS Enterprise-D" }
{ "name" : "USS Prometheus" }
{ "name" : "USS Defiant" }
{ "name" : "IKS Buruk" }
{ "name" : "IKS Somraw" }
{ "name" : "Scimitar" }
{ "name" : "Narada" }
Notice that the collection is still there with the data intact. We can also push the snapshot to Azure Storage if we want to create a Disaster Recovery backup in another Amazon region. Portworx snapshots also work with any S3 compatible object storage, so the backup can go to a different cloud or even an on-premises data center.
Summary
Portworx can easily be deployed on AKS to run stateful workloads in production. Through the integration of STORK, DevOps and StorageOps teams can seamlessly run highly-available database clusters in AKS. They can perform traditional operations such as volume expansion, snapshots, backup and recovery for the cloud-native applications.
Share
Subscribe for Updates
About Us
Portworx is the leader in cloud native storage for containers.
Thanks for subscribing!

Janakiram MSV
Contributor | Certified Kubernetes Administrator (CKA) and Developer (CKAD)Explore Related Content:
- aks
- databases
- kubernetes
- mongodb


