About 40% of enterprise companies are using Kubernetes in production, based on data from the recently published CNCF survey. The survey also claims a reduction in challenges of deploying containers on most fronts including storage and networking, historically the two biggest issues to overcome. Portworx, as one of the Kubernetes certified solutions, has been a big part of this rapid change in the cloud native landscape.
One of the biggest benefits of Kubernetes is that it has greatly simplified application deployment and lifecycle management. As a solution built for multi-cloud, Portworx is infrastructure-agnostic and integrated into all of the leading managed Kubernetes services. With the 1.5 release of Portworx, we have drastically simplified how to install Portworx on Kubernetes based on feedback from customers routinely deploying it in production. This blog will outline the steps involved to get you started with your Portworx experience.
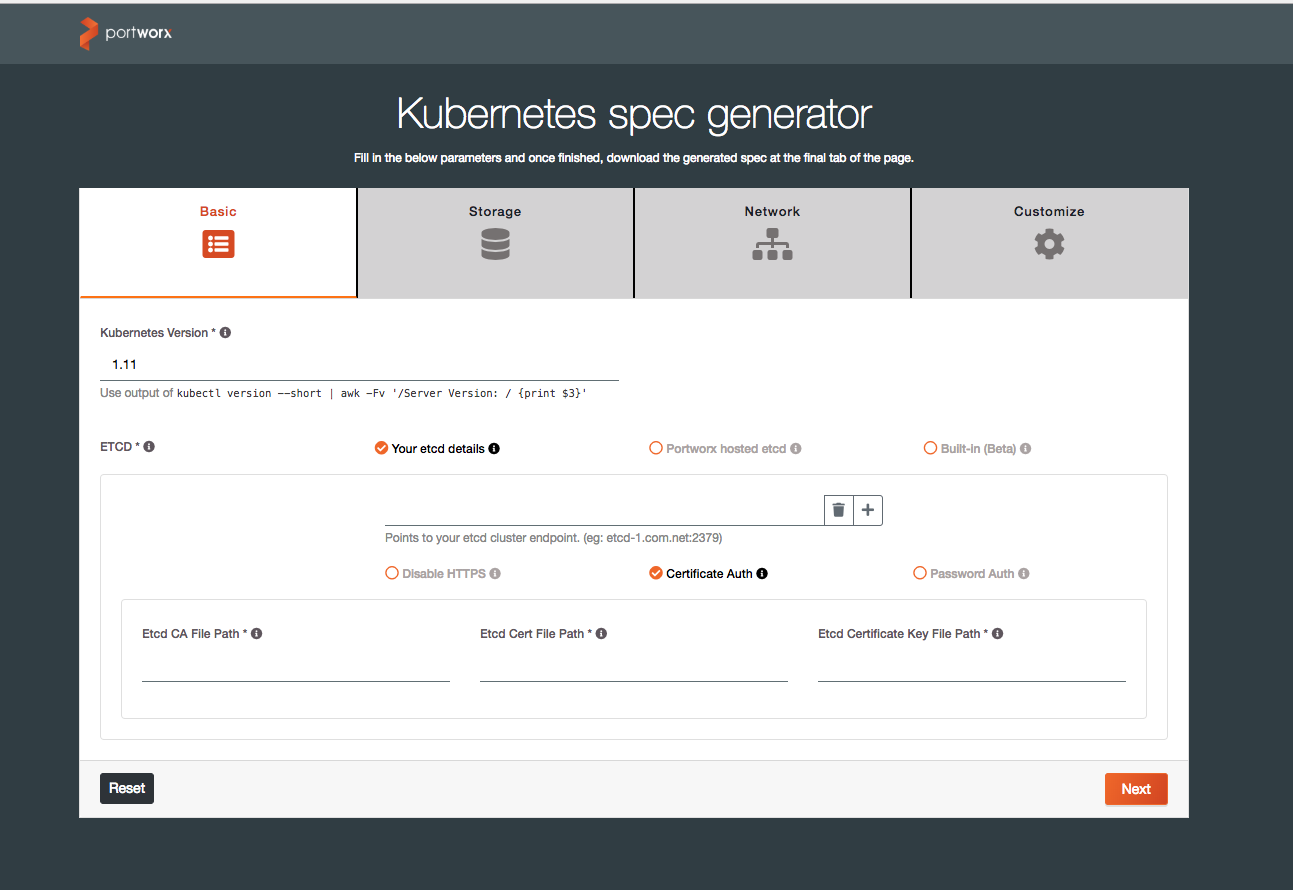
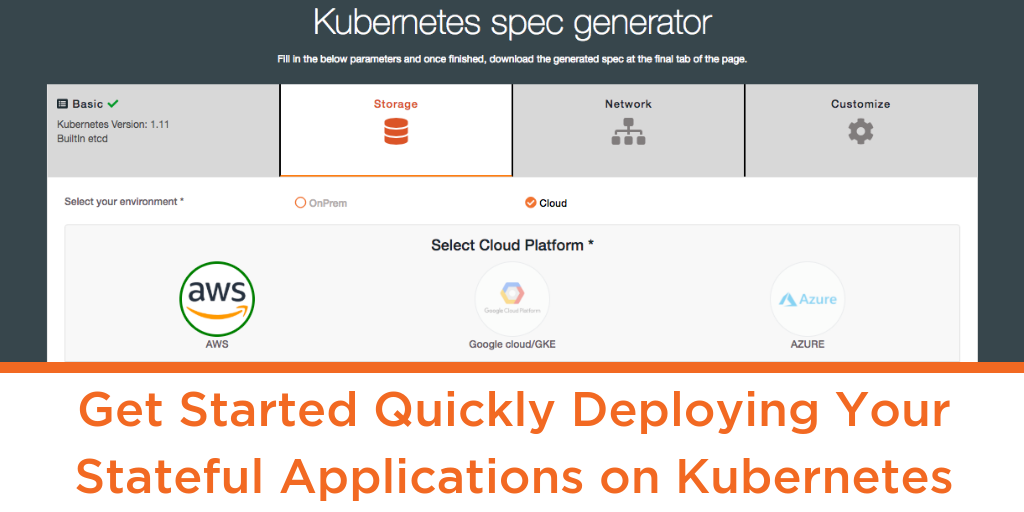
Once you point your browser to install.portworx.com, you will see a wizard that will guide you through the process (shown above). First up, you will be required to fill in the basic information about your Kubernetes version. Portworx requires a key-value database such as etcd for configuring storage and a highly available clustered etcd with persistent storage is preferred. Here you have an option to point to your own etcd cluster, use the Portworx hosted etcd, or the built-in etcd option (beta). If you are using certs or passwords for authentication, those will be required as well for establishing a secure connection.
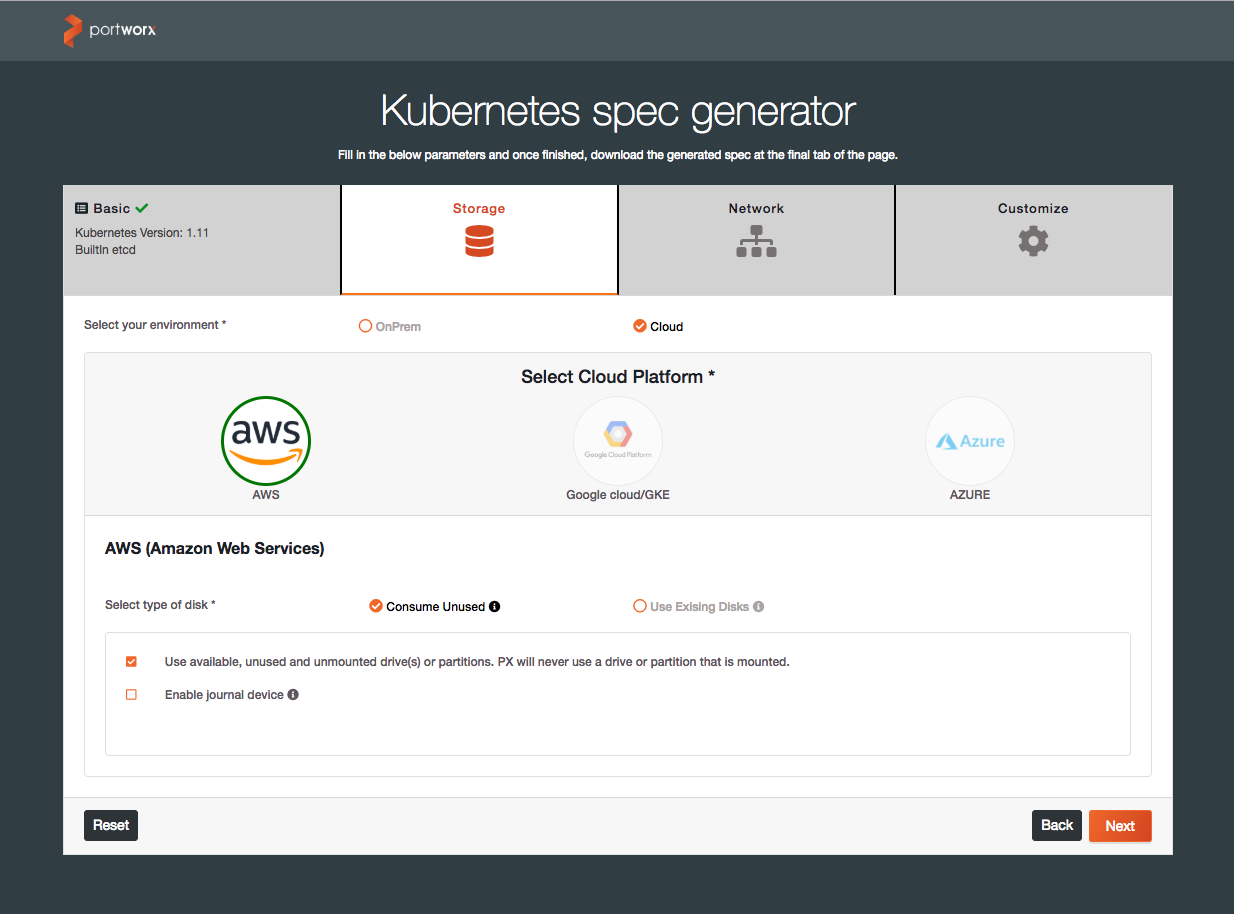
In the next step, you can specify storage related information for your environment. Based on your choice of infrastructure, you can choose on-prem or any of the public cloud providers. Within each option, Portworx can either automatically consume all available, unused and unmounted drives or you can manually enter the disk information. If the journal device option is enabled, Portworx will create a separate partition for its metadata writes. The third step is straightforward where users can specify port range and network interfaces for data and management traffic. More information on that here.
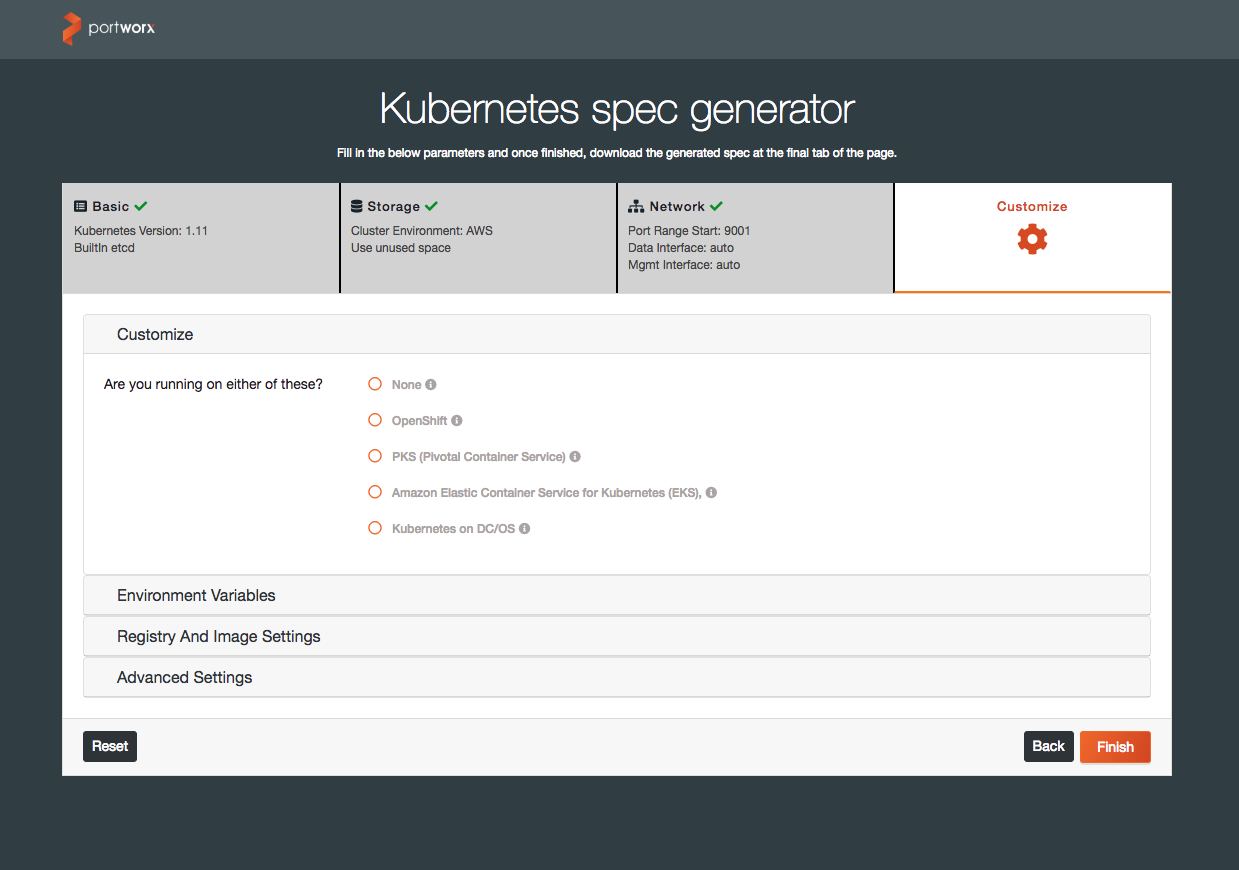
In the final step shown above, you can pick from custom options based on how you are deploying Portworx. You can choose a specific container service (OpenShift, PKS, EKS, or DC/OS) or go with the vanilla option. This is also where you can set environment variables (to be exported) and specify a custom Kubernetes registry, secrets, and image update policy.
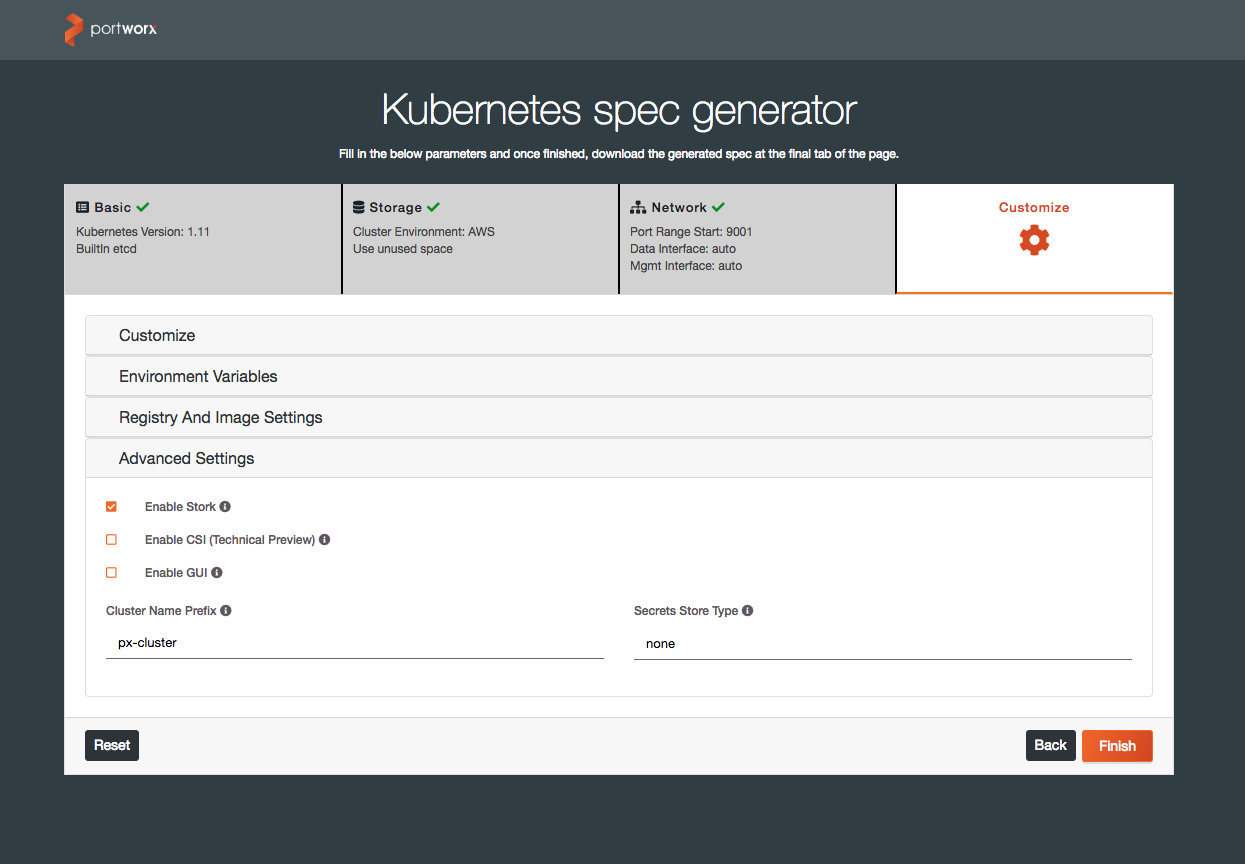
Last but not the least, specify a cluster name and select the secret store of your choice as shown in the screenshot below. Portworx comes with STORK for tighter orchestrator integration, integrates with CSI (beta support since Kubernetes 1.10), and provides Lighthouse for cluster management.
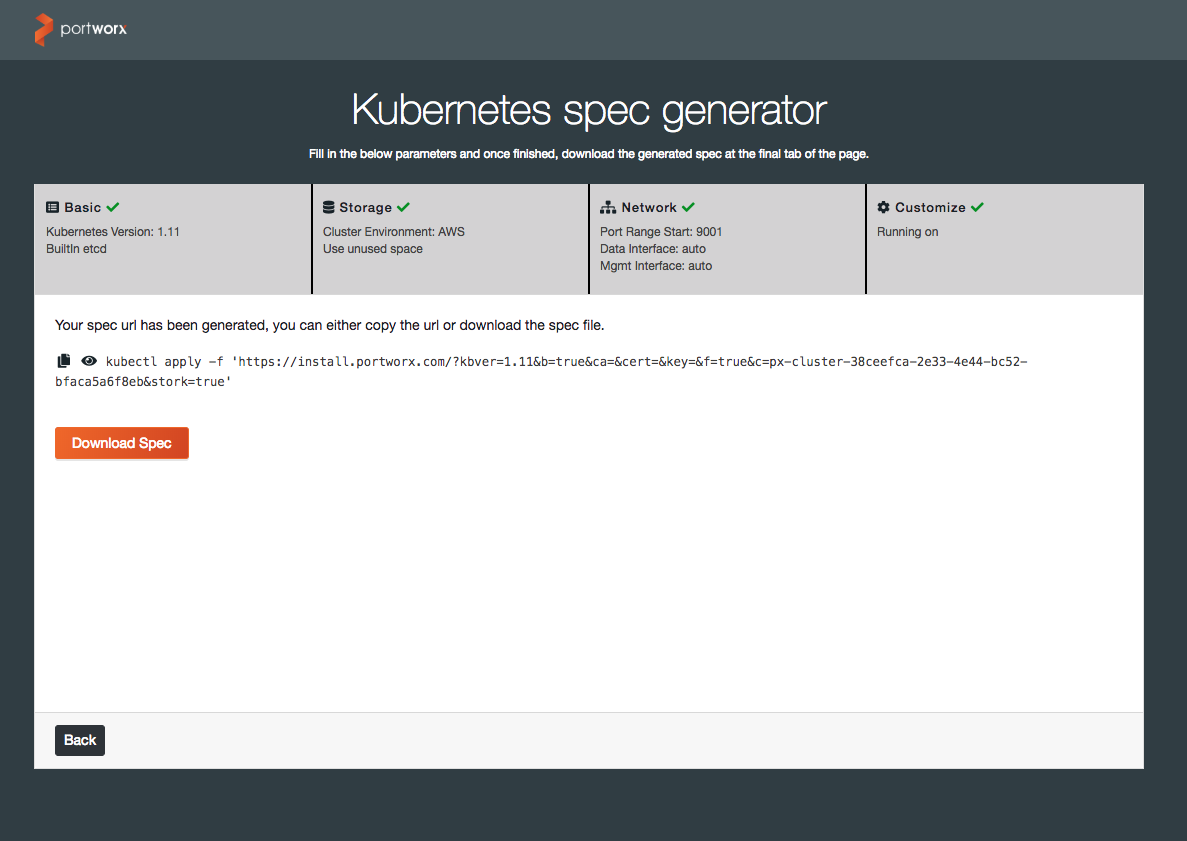
Each step shows a summary of the chosen options and once they’ve been reviewed, you can click ‘Finish’ to generate the specification file. All you have to do is apply this specification and you are up and running with Portworx.
This blog demonstrated how easy and intuitive it is to install Portworx in your environment. With simple steps and chosen defaults, it’s a quick and hassle-free install experience. If you are still having difficulty, contact us at support@portworx.com or hit us up on our Slack channel.
Share
Subscribe for Updates
About Us
Portworx is the leader in cloud native storage for containers.
Thanks for subscribing!

Prashant Rathi
Portworx | Director of Product ManagementExplore Related Content:
- kubernetes
- pks